
 Save
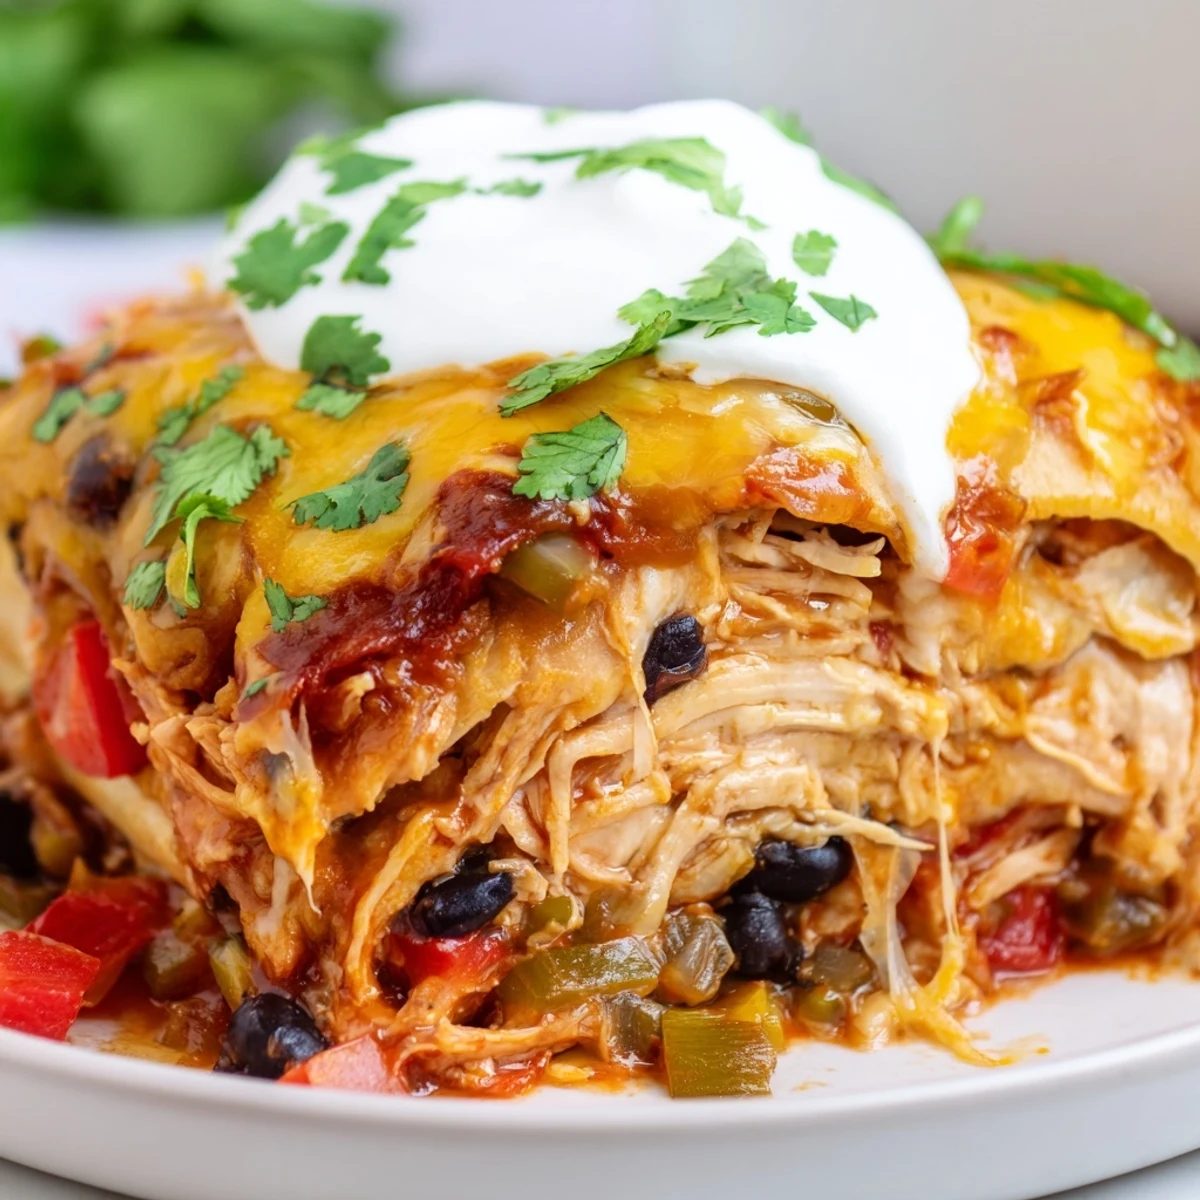
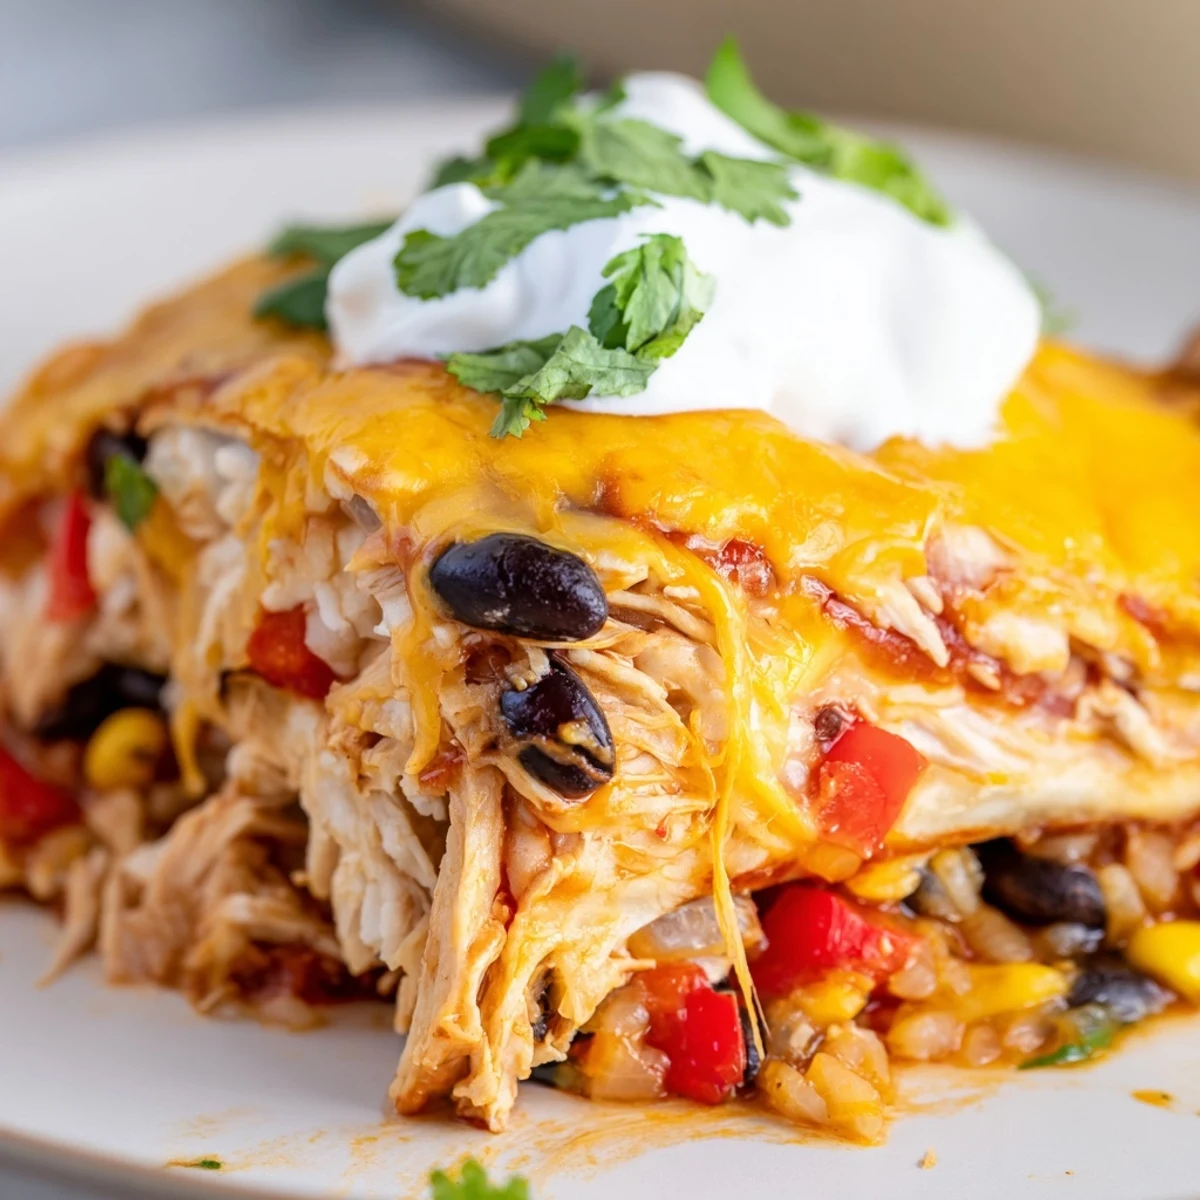
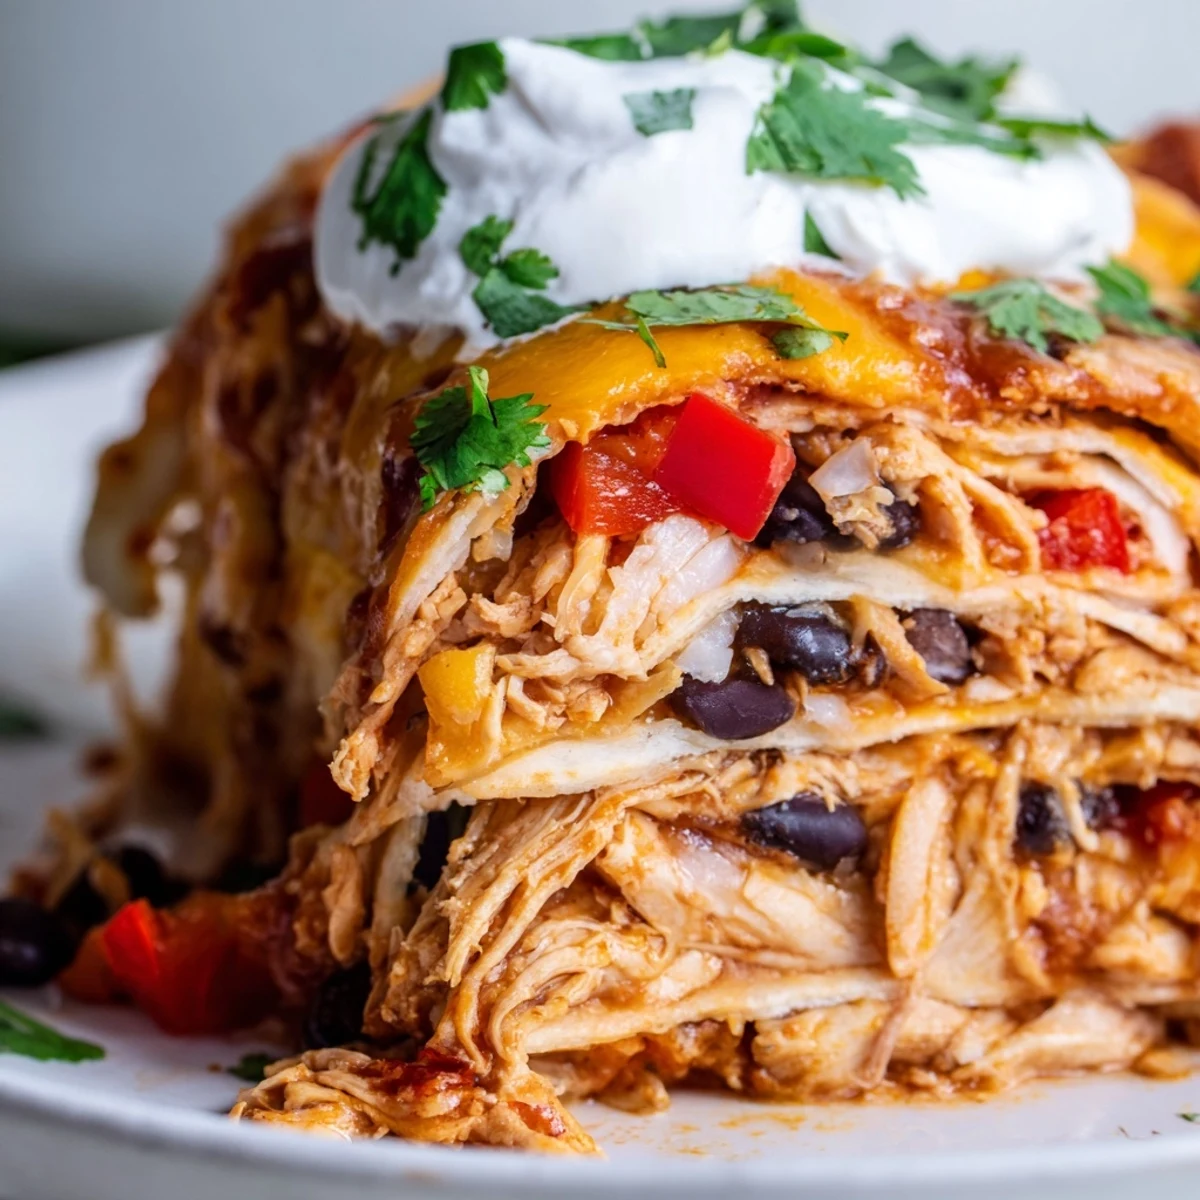
Save This chicken burrito casserole brings all the flavors of a classic burrito into a convenient baked dish. Layers of flour tortillas, seasoned shredded chicken, black beans, and rice are smothered in salsa and enchilada sauce, then topped with plenty of melted cheddar cheese.
It comes together in under an hour, making it ideal for busy weeknights. The assembly is simple—just layer the ingredients in a 9x13 dish and let the oven do the work. Top with sour cream and fresh cilantro for a finishing touch.
The rain was hammering against the kitchen window the evening I threw this casserole together with half a rotisserie chicken and a prayer. My sister had stopped by unannounced, soaking wet and starving, and somehow those humble leftovers transformed into something neither of us expected. Layers of saucy, cheesy burrito filling baked until bubbling have a way of turning a dreary Tuesday into something worth remembering.
I have made this for potlucks, for friends recovering from surgery, and once at eleven oclock at night when my husband and I were too tired to think straight but needed real food. Each time I pull it from the oven, someone leans over the counter and tries to steal a corner piece before it has even rested. That molten cheese crown is apparently impossible to resist.
Ingredients
- 2 cups cooked shredded chicken: Rotisserie chicken is the shortcut that saves you here, but any leftover poached or baked chicken works beautifully.
- 1 medium onion, diced: A yellow onion brings sweetness that balances the bold salsa and enchilada sauce.
- 1 red bell pepper, diced: The color and slight crunch before baking add a freshness that cuts through the richness.
- 2 cloves garlic, minced: Fresh garlic matters here because it infuses the entire filling with a warm, savory depth.
- 1 can black beans, drained and rinsed: Rinsing removes the starchy liquid so your casserole does not turn mushy.
- 1 cup cooked white or brown rice: This stretches the filling and soaks up the sauces like a sponge.
- 6 medium flour tortillas: Use corn tortillas if you need gluten free, and tear them freely to fit the dish.
- 2 cups shredded cheddar or Mexican blend cheese: Freshly shredded melts smoother than bagged pre shredded, which contains anti caking agents.
- 1 cup sour cream: A cool dollop on top is the finishing touch that makes each serving sing.
- 2 cups salsa: Choose your preferred heat level because this is the primary flavor driver in every layer.
- 1 can enchilada sauce: It adds a concentrated chili flavor that salsa alone cannot achieve.
- 1 tsp chili powder: A straightforward blend gives the filling a mild, warming heat without overwhelming anyone.
- 1 tsp cumin: This is the backbone of that familiar Mexican restaurant aroma.
- Half tsp salt: Adjust depending on how salty your salsa and cheese are.
- Quarter tsp black pepper: Just enough to sharpen the other spices.
- 2 tbsp fresh cilantro, optional: A bright garnish that wakes up the whole dish right before serving.
Instructions
- Get your oven ready:
- Preheat to 375 degrees Fahrenheit and lightly grease a 9 by 13 inch casserole dish so nothing sticks to the corners.
- Build the aromatic base:
- In a large skillet over medium heat, sauté the diced onion, bell pepper, and garlic for three to four minutes until everything softens and your kitchen smells incredible.
- Bring the filling together:
- Stir in the shredded chicken, black beans, rice, chili powder, cumin, salt, and pepper, letting everything warm through for two to three minutes so the spices bloom.
- Start layering with salsa:
- Spread a thin layer of salsa across the bottom of your prepared dish to prevent the tortillas from drying out during baking.
- Layer one tortillas:
- Arrange three tortillas over the salsa, tearing them as needed to cover the surface without worrying about perfection.
- Add the first filling layer:
- Spoon half the chicken mixture over the tortillas, then drizzle with half the enchilada sauce and half the remaining salsa before scattering one cup of cheese on top.
- Build the second layer:
- Repeat with three more torn tortillas, the rest of the filling, remaining sauces, and the final cup of cheese piled high.
- Bake covered then uncovered:
- Cover tightly with foil and bake for twenty minutes, then uncover and bake ten more minutes until the cheese is bubbling and lightly golden in spots.
- Rest and finish:
- Let the casserole rest for five minutes so the layers set, then dollop generously with sour cream and sprinkle with fresh cilantro before serving.
 Save
Save The first time I served this at a casual dinner party, my friend Marcus sat quietly eating seconds without saying a word, which is the highest compliment I have ever received from a man who usually critiques everything.
Making It Your Own
This recipe is endlessly adaptable once you understand the basic layering rhythm. I have swapped black beans for pinto, thrown in leftover roasted corn, and even tucked pickled jalapeños between layers when I needed extra fire. The structure holds up to almost any variation as long as you keep the sauce to tortilla ratio balanced.
Leftovers That Actually Improve
Like most casseroles, this one tastes even better the next day when the flavors have had time to mingle overnight in the fridge. I reheat individual portions in the microwave and add a fresh squeeze of lime juice that brightens everything back up. It also freezes surprisingly well if you wrap individual portions tightly.
Serving Suggestions Worth Trying
A simple side salad with a lime vinaigrette cuts through the richness perfectly. Guacamole and tortilla chips on the side turn this into a complete spread that feels intentional rather than thrown together.
- A cold crisp lager or a margarita alongside this casserole is genuinely a perfect pairing.
- Keep extra salsa and sour cream on the table because people always want more.
- Remember that this dish is meant to be comforting and casual, so do not overthink the presentation.
 Save
Save Some meals are about technique and precision, but this one is about piling good things together and letting the oven do the work. That is the kind of cooking that keeps people coming back to the table.
Recipe FAQs
- → Can I make this casserole ahead of time?
-
Yes, you can assemble the casserole completely, cover it tightly with foil, and refrigerate it for up to 24 hours before baking. Add an extra 10 minutes to the covered baking time if going straight from the refrigerator to the oven.
- → What can I substitute for flour tortillas?
-
Corn tortillas work well as a gluten-free alternative. You can also use leftover rice as a base layer instead of tortillas, turning it into more of a rice bowl-style bake.
- → How should I store and reheat leftovers?
-
Store leftovers in an airtight container in the refrigerator for up to 4 days. Reheat individual portions in the microwave for 1-2 minutes, or warm the whole dish in a 350°F oven covered with foil for about 15-20 minutes.
- → Can I freeze chicken burrito casserole?
-
Absolutely. Assemble the casserole without the sour cream topping, wrap tightly in foil and freezer-safe wrap, and freeze for up to 3 months. Thaw overnight in the refrigerator before baking as directed.
- → What's the best way to shred the chicken?
-
Rotisserie chicken is the quickest option—just pull the meat off the bone and shred with two forks. You can also poach boneless chicken breasts for 15-20 minutes until cooked through, then shred while still warm for the most tender texture.
- → How can I make this dish spicier?
-
Add diced jalapeños to the chicken filling, use a hot salsa or enchilada sauce, stir in a dash of cayenne pepper with the spices, or top with pickled jalapeños before serving for extra kick.