
 Save
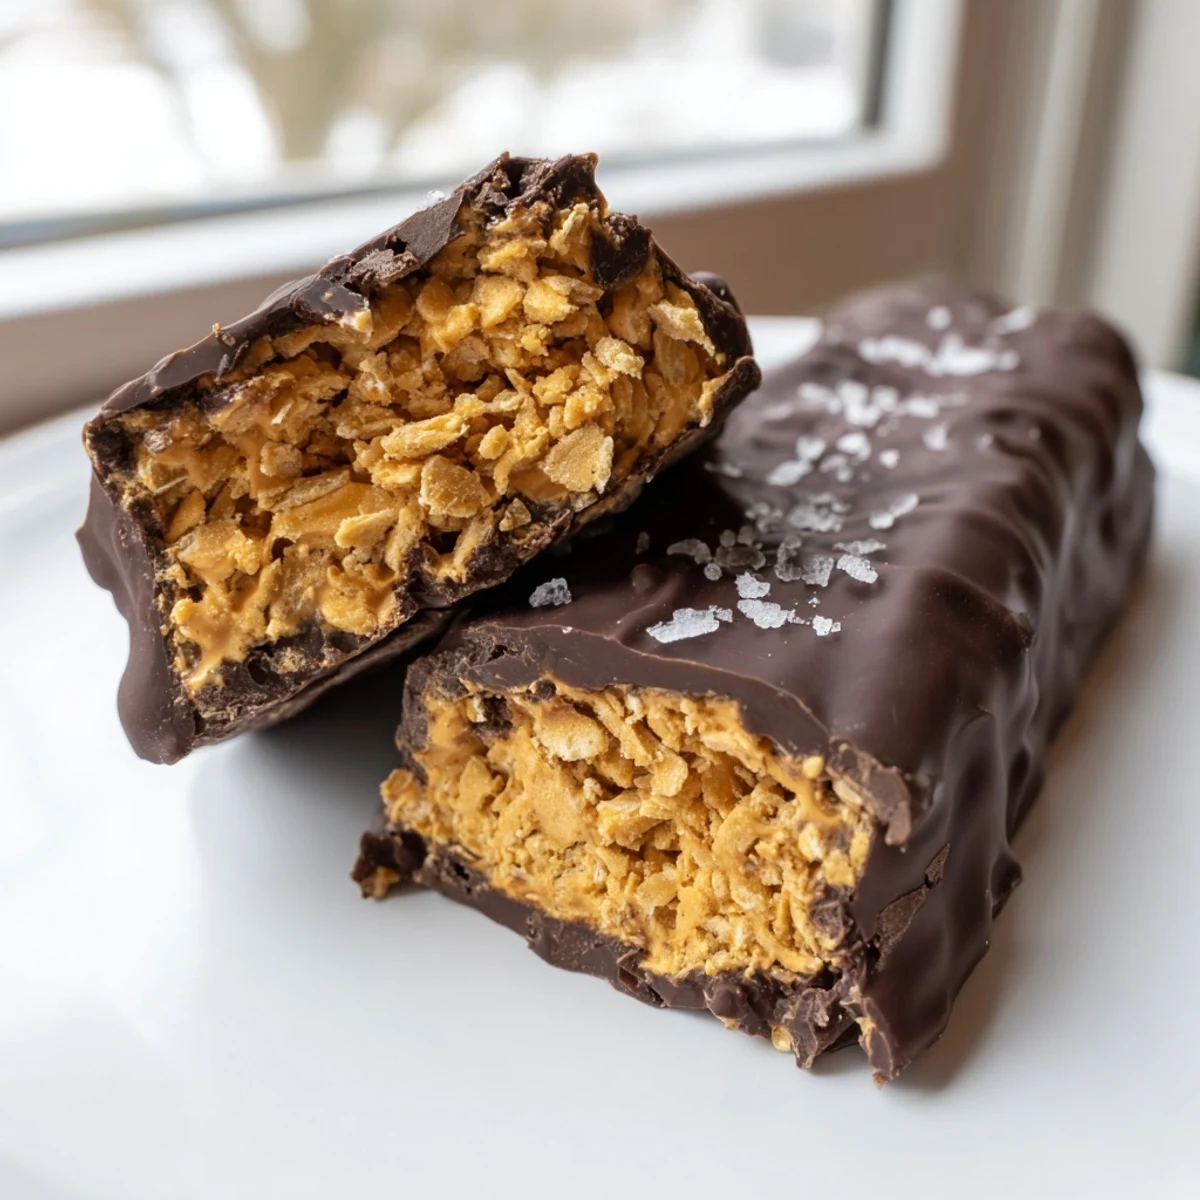
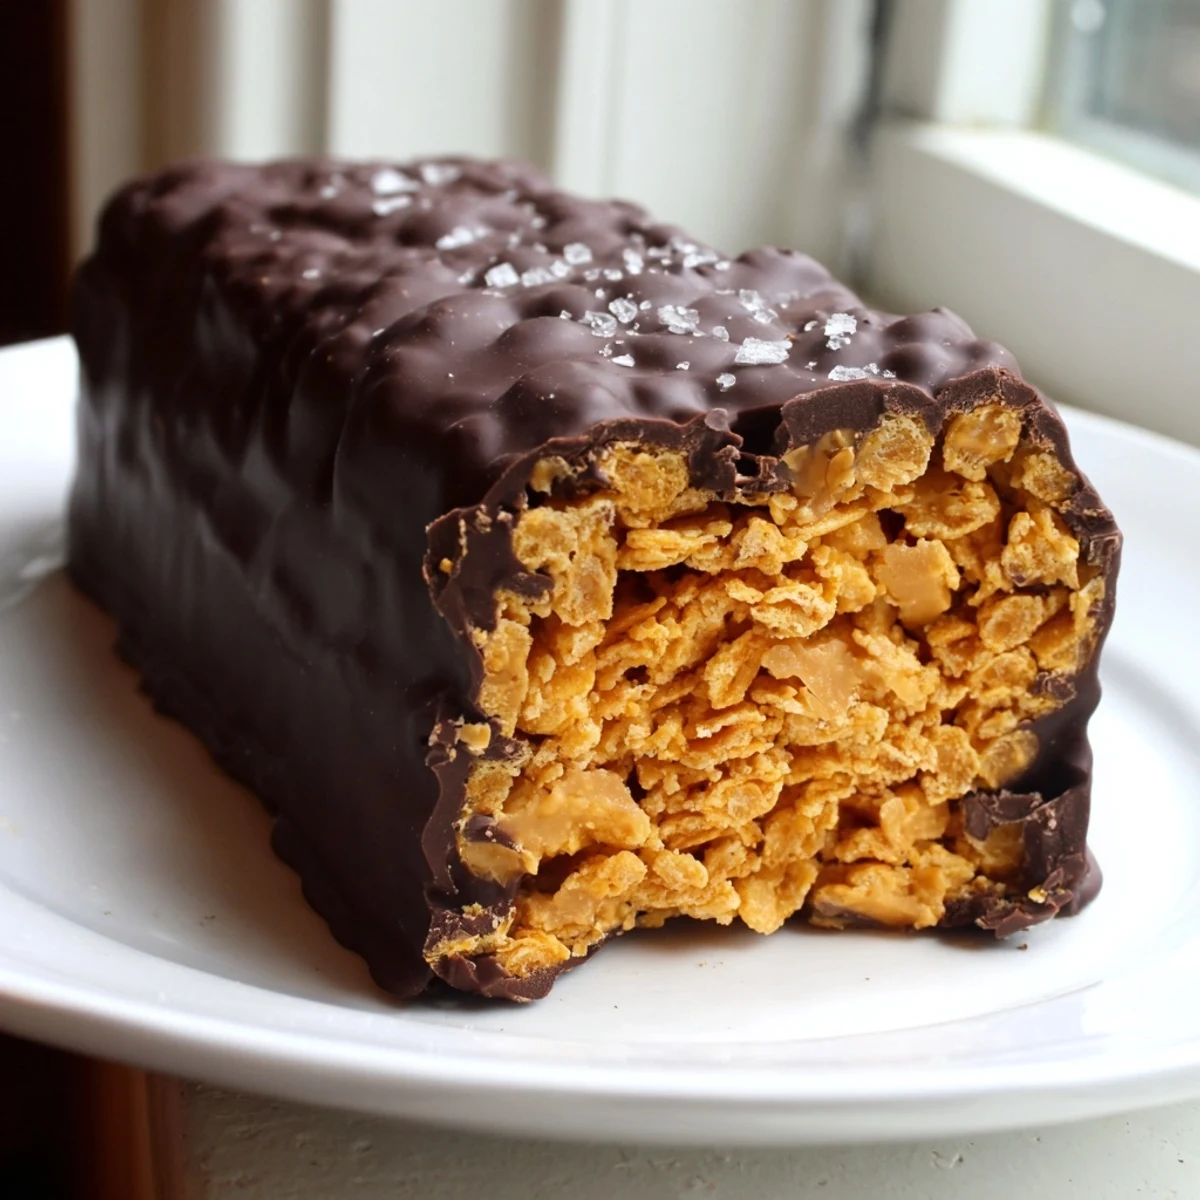
Save These homemade Butterfinger-style bars deliver all the crunchy, peanut buttery satisfaction of the classic candy without the heaviness. A simple mixture of creamy peanut butter, maple syrup, and crushed cornflakes creates that signature crisp texture.
Each bar is enrobed in melted dark chocolate and chilled until perfectly set. Ready in under an hour with no baking required, they're an easy vegetarian and gluten-free friendly option for satisfying sweet cravings.
The candy aisle at the grocery store always gets me, especially around Halloween when those orange and yellow Butterfinger packages are stacked everywhere. My weakness is that flaky peanut butter center covered in chocolate, but the ingredient list on the back always makes me pause. One rainy Saturday I decided to see if I could make something just as satisfying in my own kitchen with ingredients I actually recognized.
I brought a batch of these to a movie night with friends and did not tell anyone they were homemade. Someone actually asked which brand they were, and the look on their faces when I said I made them in my tiny kitchen was worth every minute of effort.
Ingredients
- Natural creamy peanut butter: Use the kind with just peanuts and salt on the label, because the stabler commercial kinds can make the mixture greasy instead of setting properly.
- Pure maple syrup or honey: This is your binder and sweetener in one, and maple syrup will keep the recipe vegan if that matters to you.
- Vanilla extract: Just a teaspoon rounds out the flavor and makes the peanut butter taste less flat.
- Cornflakes: Lightly crushed is the sweet spot here, since you want small pieces for texture but not dusty crumbs that disappear into the mixture.
- Sea salt: A pinch in the base goes a long way to balance the sweetness.
- Dark chocolate chips: The slight bitterness of dark chocolate contrasts beautifully with the sweet peanut butter layer.
- Coconut oil: This thins the chocolate just enough for dipping and gives you that snappy shell when it sets.
Instructions
- Prep your pan:
- Line an 8x8 baking dish with parchment paper, leaving some overhang on the sides so you can lift the whole block out later without wrestling with it.
- Melt the base:
- Combine peanut butter and maple syrup in a saucepan over medium-low heat, stirring gently until everything is smooth and warm, which should take about two to three minutes.
- Add flavor:
- Take the pan off the heat and stir in the vanilla extract and a pinch of sea salt until evenly mixed through.
- Fold in the crunch:
- Gently fold the crushed cornflakes into the peanut butter mixture, using a spatula to coat every flake without crushing them further.
- Press and freeze:
- Spread the mixture into your prepared pan and press it down firmly and evenly, then pop it into the freezer for twenty to thirty minutes until it holds its shape when touched.
- Cut into bars:
- Lift the slab out using the parchment overhang and cut it into sixteen bars with a sharp knife, pressing straight down for clean edges.
- Melt the chocolate:
- Warm the chocolate chips and coconut oil together in a microwave in short bursts or over a double boiler, stirring between intervals until the mixture is glossy and lump-free.
- Dip each bar:
- Lower each bar into the melted chocolate, using a fork to flip it and coat all sides, then place it on a parchment-lined tray to set.
- Chill until set:
- Refrigerate the coated bars for fifteen to twenty minutes until the chocolate shell is firm to the touch and no longer tacky.
 Save
Save The moment these bars became more than just a recipe was when my niece helped me make them and started calling them our secret candy. She now requests them every time she visits, and we always make a double batch.
Storing Your Bars
These bars keep best in the refrigerator in an airtight container, where they stay fresh for about two weeks. You can also freeze them layered between sheets of parchment for up to three months, though honestly they never last that long in my house.
Swaps and Substitutions
Maple syrup and dairy-free chocolate make this fully vegan, and certified gluten-free cornflakes keep it safe for anyone avoiding gluten. My friend swaps in milk chocolate chips for her kids and says they disappear twice as fast as the dark chocolate version.
A Few Last Thoughts
There is something deeply satisfying about making your own candy bars with a saucepan and a bowl instead of a factory assembly line. These are imperfect and rustic looking in the best way, and that homemade charm is part of what makes them special.
- Sprinkle flaky sea salt on top of each bar right after dipping for an elevated sweet and salty finish.
- If your kitchen is warm, work quickly when dipping because the chocolate starts to thicken as it cools.
- Let the bars sit at room temperature for about five minutes before eating so the peanut butter center softens slightly.
 Save
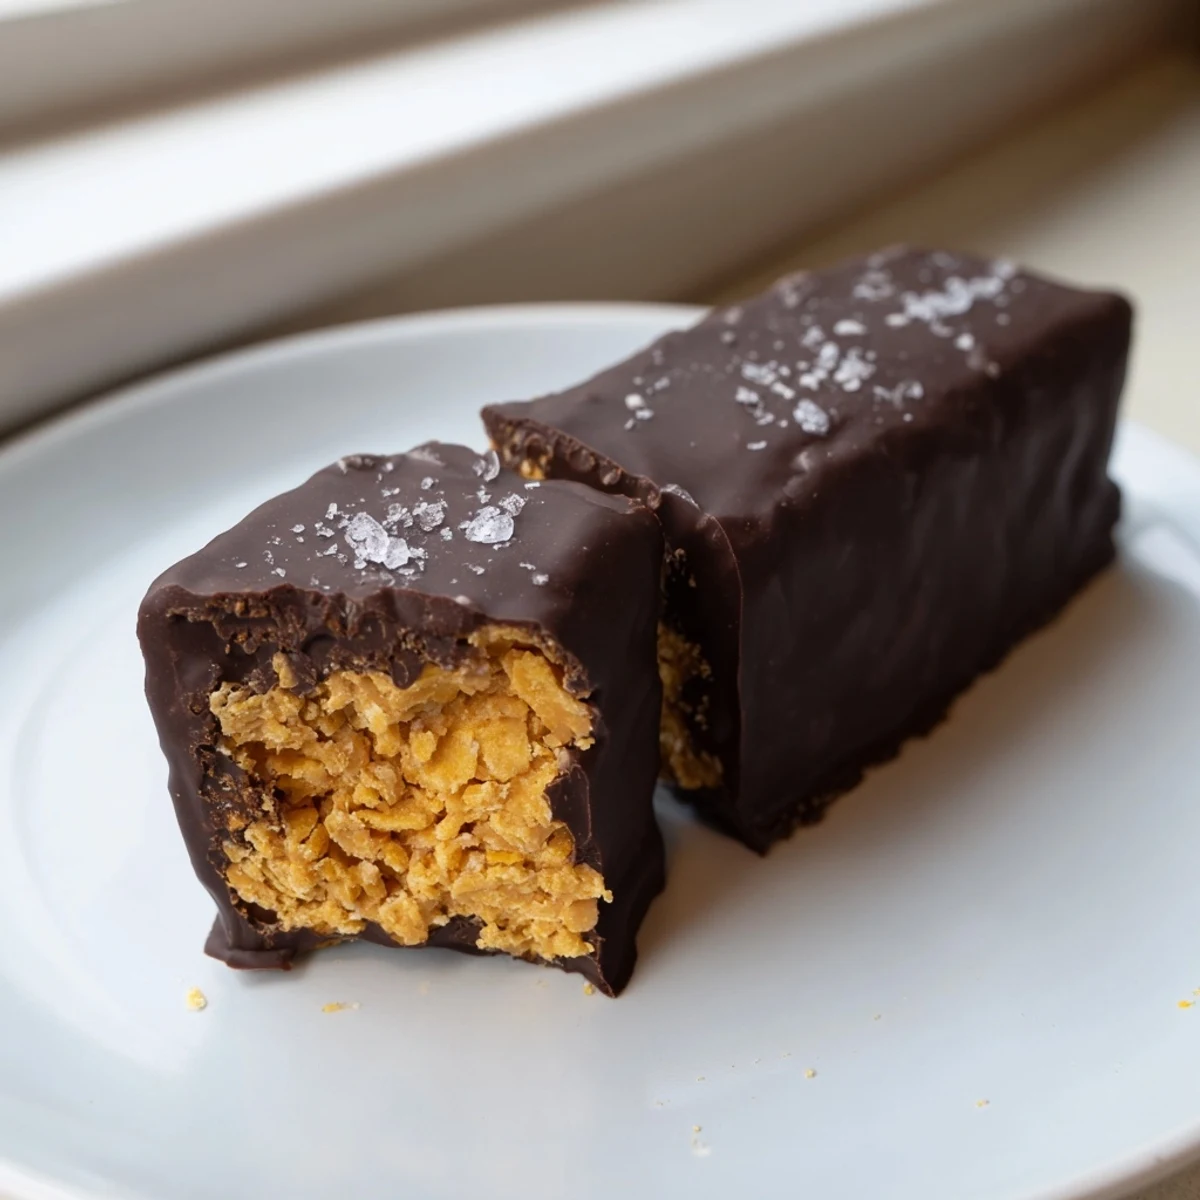
Save These homemade Butterfingers prove that you do not need a candy thermometer or fancy equipment to make something truly irresistible. Keep a batch in your fridge and you will always have a little something sweet waiting for you.
Recipe FAQs
- → Can I make these Butterfinger bars vegan?
-
Yes, simply use maple syrup instead of honey and choose dairy-free dark chocolate chips. Coconut oil remains vegan-friendly and helps achieve a smooth chocolate coating.
- → How should I store the finished bars?
-
Store bars in an airtight container in the refrigerator for up to two weeks. For longer storage, freeze them for up to three months. Let frozen bars thaw briefly at room temperature before serving.
- → What can I substitute for cornflakes?
-
Crushed rice cereal works as a direct substitute. You could also try crushed pretzels for a saltier twist or graham cracker crumbs, though the texture will differ from the classic Butterfinger crunch.
- → Why does the chocolate coating need coconut oil?
-
Coconut oil thins the melted chocolate slightly, making it easier to dip and coat the bars evenly. It also helps the chocolate set with a smooth, glossy finish and prevents it from becoming too brittle when chilled.
- → Can I use milk chocolate instead of dark chocolate?
-
Absolutely. Milk chocolate will give the bars a sweeter, creamier coating that's closer to the original Butterfinger. Just note that milk chocolate burns more easily, so melt it gently using short microwave intervals or a double boiler.
- → How do I get clean cuts when slicing the bars?
-
Make sure the peanut butter mixture is fully chilled and firm before cutting. Use a sharp knife and wipe it clean between cuts. For perfectly even bars, score the top lightly first, then cut through in one confident motion.