 Save
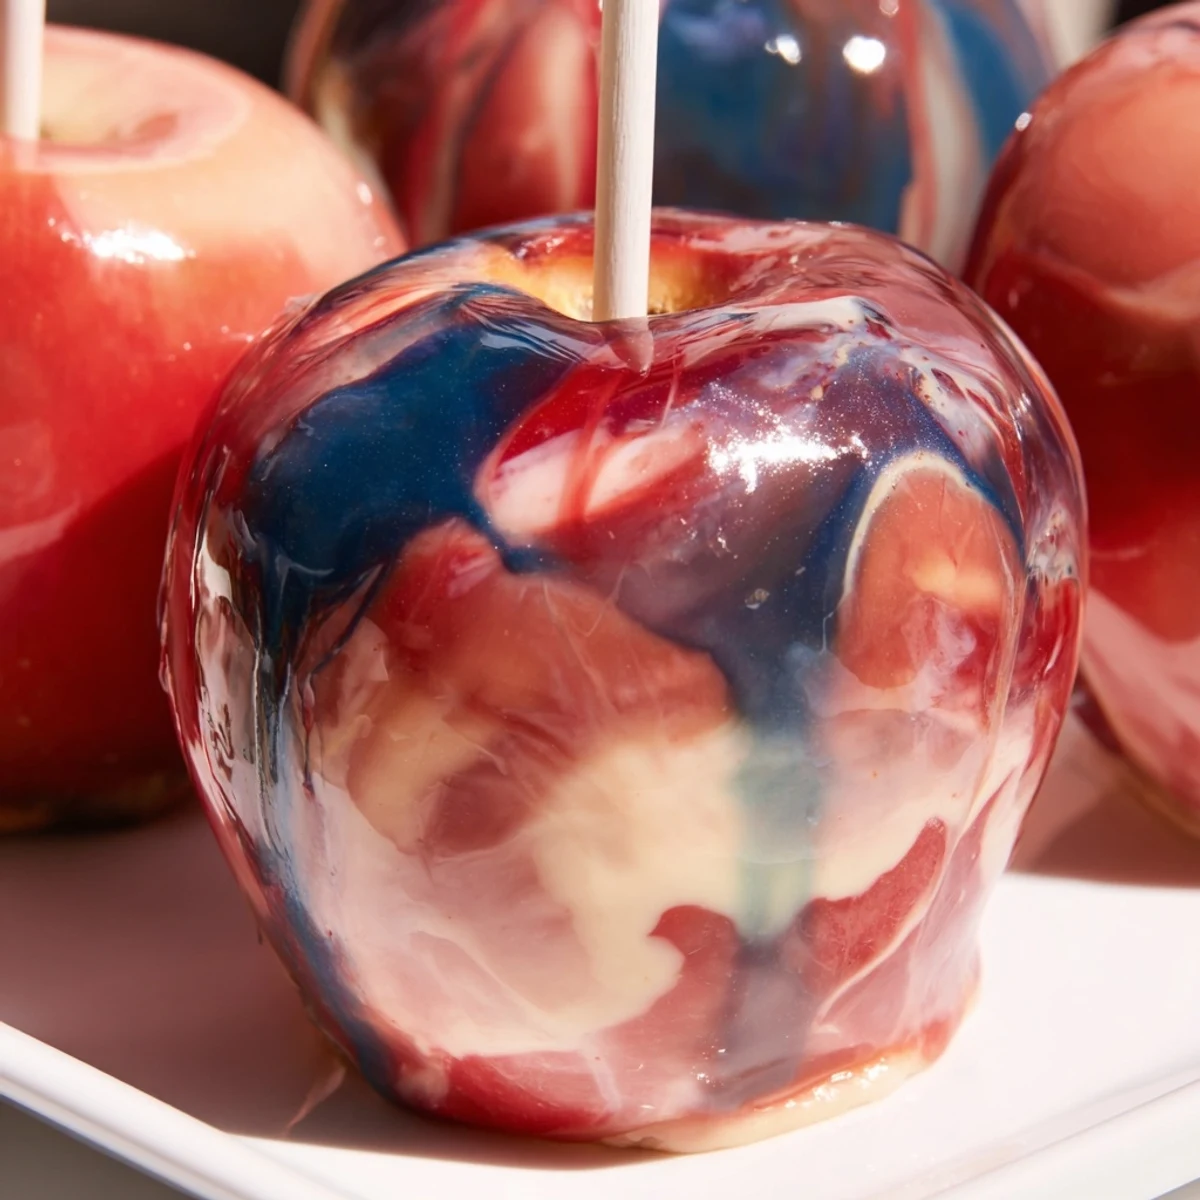
Save Create stunning marbled candy apples with this easy recipe. These vibrant treats feature a glossy, swirled candy shell over crisp apples, perfect for parties and holidays. The marbled effect comes from carefully adding drops of different food colorings to the hot candy syrup and gently swirling, not fully mixing. The result is a beautiful, festive dessert that looks as good as it tastes.
The first time I attempted marbled candy apples, I stood over my stove with three bottles of food coloring like a mad scientist, convinced something this beautiful had to be complicated. My kitchen smelled like caramelized sugar and childhood memories, and I could not stop grinning when that first swirl of red and white hit the glossy coating. Now they are my go to party trick because nobody believes they took less than an hour.
Last autumn I made a batch for my niece's birthday and the kids gathered around the kitchen counter, eyes wide, watching the colors swirl together like magic. One little boy told me mine looked better than the ones at the carnival, which I will consider a lifetime achievement. The best part was sending each child home with their own masterpiece wrapped in clear cellophane.
Ingredients
- 8 medium apples: Granny Smith or Fuji work beautifully because their tartness balances the intense sugar and their firm flesh holds up well to the heavy coating
- 8 sturdy wooden sticks: Paper lollipop sticks or thick craft skewers are essential here because regular skinny sticks might snap under the weight of the candy shell
- 2 cups granulated sugar: Do not reduce this amount or try alternative sweeteners because the sugar concentration must reach exactly 300 degrees for proper hardening
- 3/4 cup water: Just enough to dissolve the sugar initially but the water will cook off completely during boiling
- 1/2 cup light corn syrup: This prevents crystallization and keeps the candy coating smooth and glossy instead of grainy
- 1/2 tsp vanilla extract: Optional but adds a lovely warmth that balances the pure sugar flavor
- Gel food coloring: Red, blue, and white give you that classic marble effect but any combination works as long as you use gel formulas
Instructions
- Prepare your station:
- Line a large baking sheet with parchment paper or a silicone mat and insert wooden sticks firmly into the stem end of each apple, pushing them about halfway through the fruit
- Make the candy base:
- Combine sugar, water, and corn syrup in a heavy bottomed saucepan over medium heat, stirring constantly until the sugar completely dissolves and the mixture is clear
- Reach the hard crack stage:
- Stop stirring completely, increase heat to high, and attach a candy thermometer, letting the syrup boil undisturbed until it reaches exactly 300 degrees Fahrenheit
- Create the marble effect:
- Remove from heat immediately, stir in vanilla if using, then drop small amounts of red, blue, and white gel coloring around the pan, swirling gently with a skewer just once or twice to create streaks
- Coat the apples:
- Working quickly before the syrup thickens, dip each apple by holding the stick and rotating it in the candy to coat evenly, letting excess drip off for a moment before placing on the prepared sheet
- Set and serve:
- Let the apples cool completely at room temperature for about 15 minutes until the candy shell is hard and makes a satisfying crack when you bite into it
 Save
Save My friend Sarah brought these to our annual Halloween party last year and I swear people were taking photos before they even touched their drinks. She had made them in our school colors for a tailgate and they disappeared faster than the wings. Something about that glossy swirled coating makes people feel like they are eating something truly special.
Choosing Your Apples
I learned through trial and error that the apple variety matters more than I thought. Granny Smith gives you that perfect sweet tart contrast that cuts through the intense sugar coating, while Fuji apples bring natural sweetness if you prefer a more dessert like experience. Just avoid soft varieties like Red Delicious because their mealy texture creates a weird mouthfeel against the hard candy shell.
Temperature Precision
A candy thermometer is not optional here unless you are a professional who can judge the hard crack stage by the way bubbles form when you drip syrup into cold water. I tried the cold water test once and ended up with apples that never fully hardened, which turned into a sticky disaster. The few dollars for a proper thermometer will save you so much frustration and guarantee that satisfying snap when you bite into your finished apple.
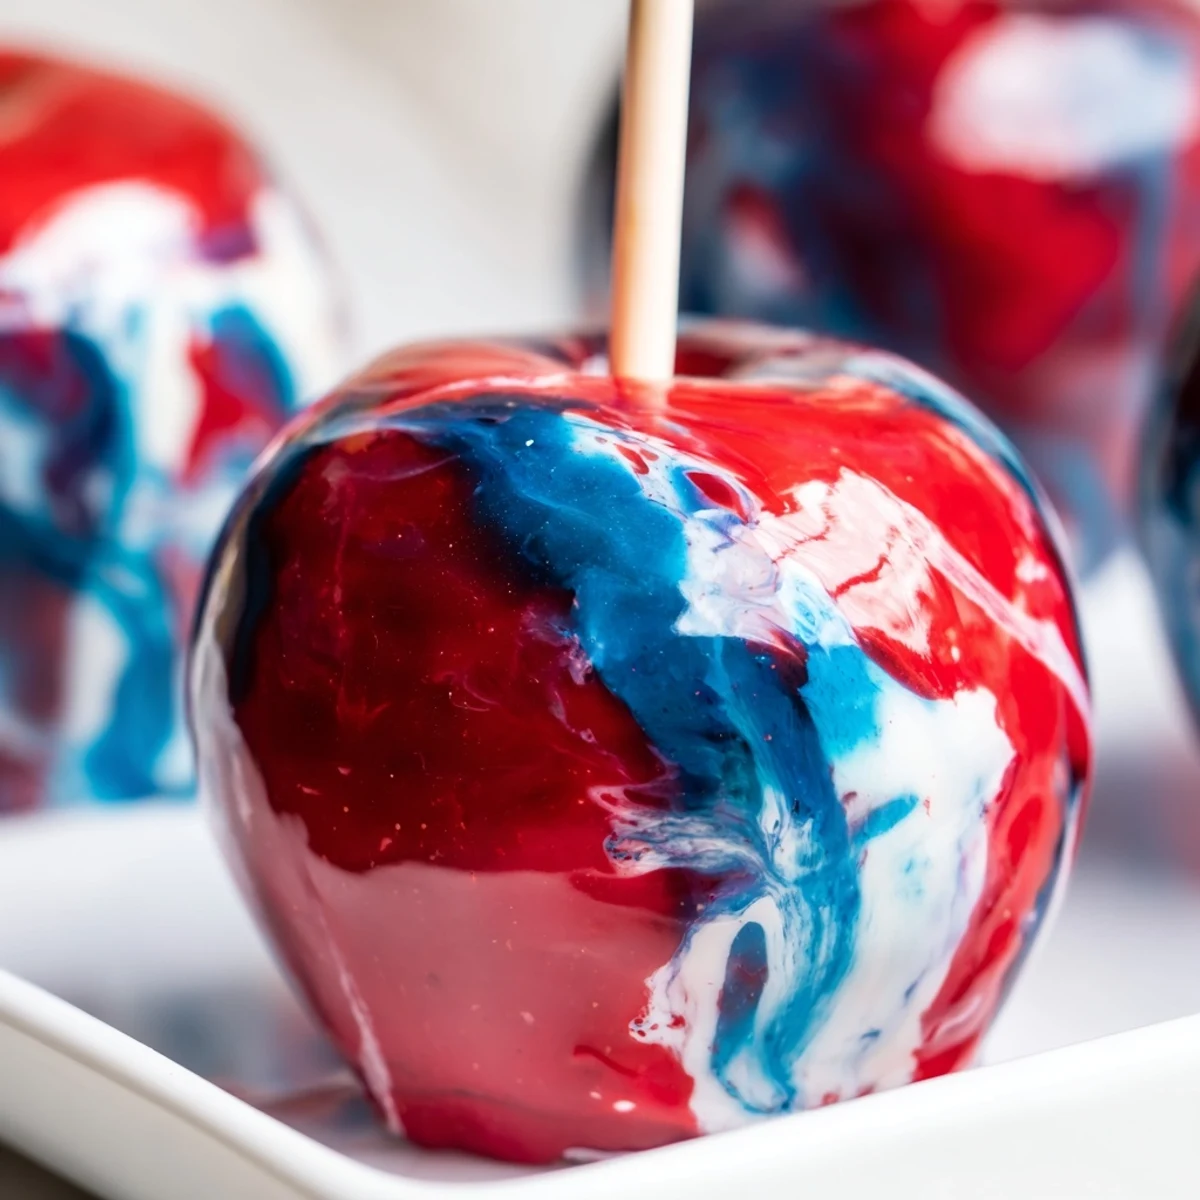
Color Combinations for Every Occasion
The red white blue combination is classic for patriotic holidays but once you master the marbling technique you can customize these for any event or theme. I have done purple and gold for graduation parties, orange and black for Halloween gatherings, and even pastel pinks and blues for baby showers where they were an absolute hit.
- Pink and yellow swirls look stunning for spring celebrations
- Dark red with touches of gold creates an elegant Christmas dessert
- Try lime green and blue for a fun tropical birthday theme
 Save
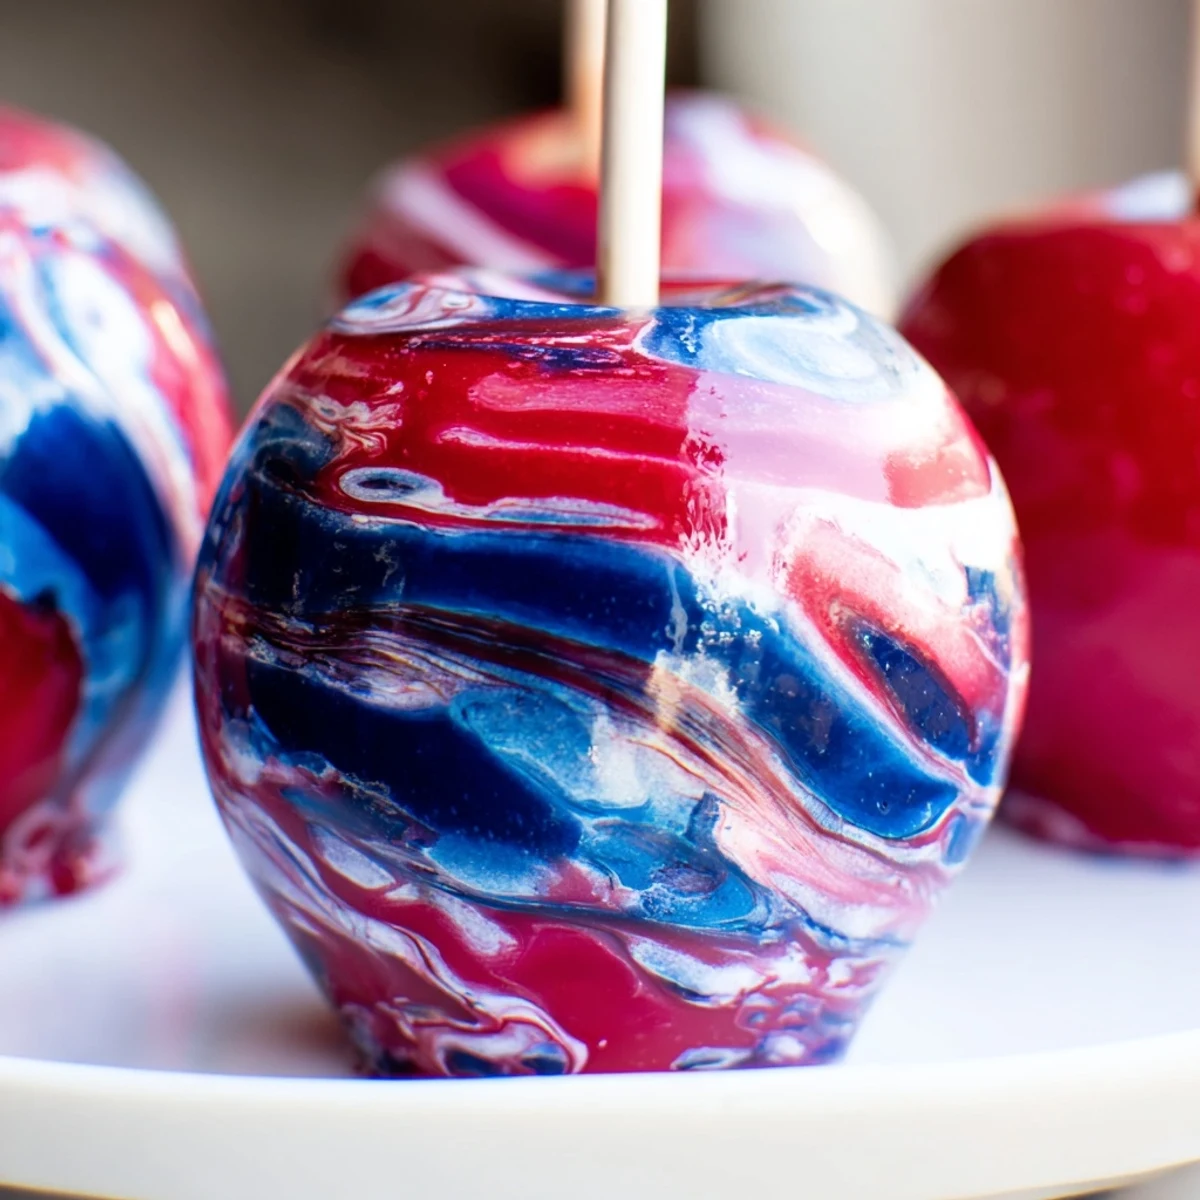
Save These marbled candy apples never fail to make people smile, and honestly, that glossy swirled coating makes me feel like a kitchen magician every single time.
Recipe FAQs
- → What type of apples work best for candy apples?
-
Medium firm apples like Granny Smith or Fuji work best. They hold up well to the hot candy coating and provide a nice crisp texture. Make sure to wash and thoroughly dry the apples before dipping to ensure the candy adheres properly.
- → How do I achieve the marbled effect?
-
Add a few drops of different gel food colorings to the hot candy syrup after it reaches the hard crack stage. Then gently swirl with a wooden skewer - don't fully mix. You want visible streaks of color for the marbled effect. Swirl the syrup briefly between each apple dip to maintain the pattern.
- → Can I use liquid food coloring instead of gel?
-
Gel food coloring is recommended for the best marbling effect. Liquid food coloring can make the candy syrup too thin and may not create distinct color streaks. Gel provides vibrant, concentrated color that creates beautiful marbling.
- → How long do these candy apples last?
-
Store finished candy apples at room temperature for up to 24 hours. The candy shell will harden as it cools. If the weather is humid, they may become sticky faster, so it's best to enjoy them within a day.
- → What's the hard crack stage and why is it important?
-
The hard crack stage is 300°F (150°C) on a candy thermometer. At this temperature, the sugar syrup becomes hard and brittle when cooled. This is crucial for creating the crisp candy shell that will set properly on the apples and not remain sticky.