 Save
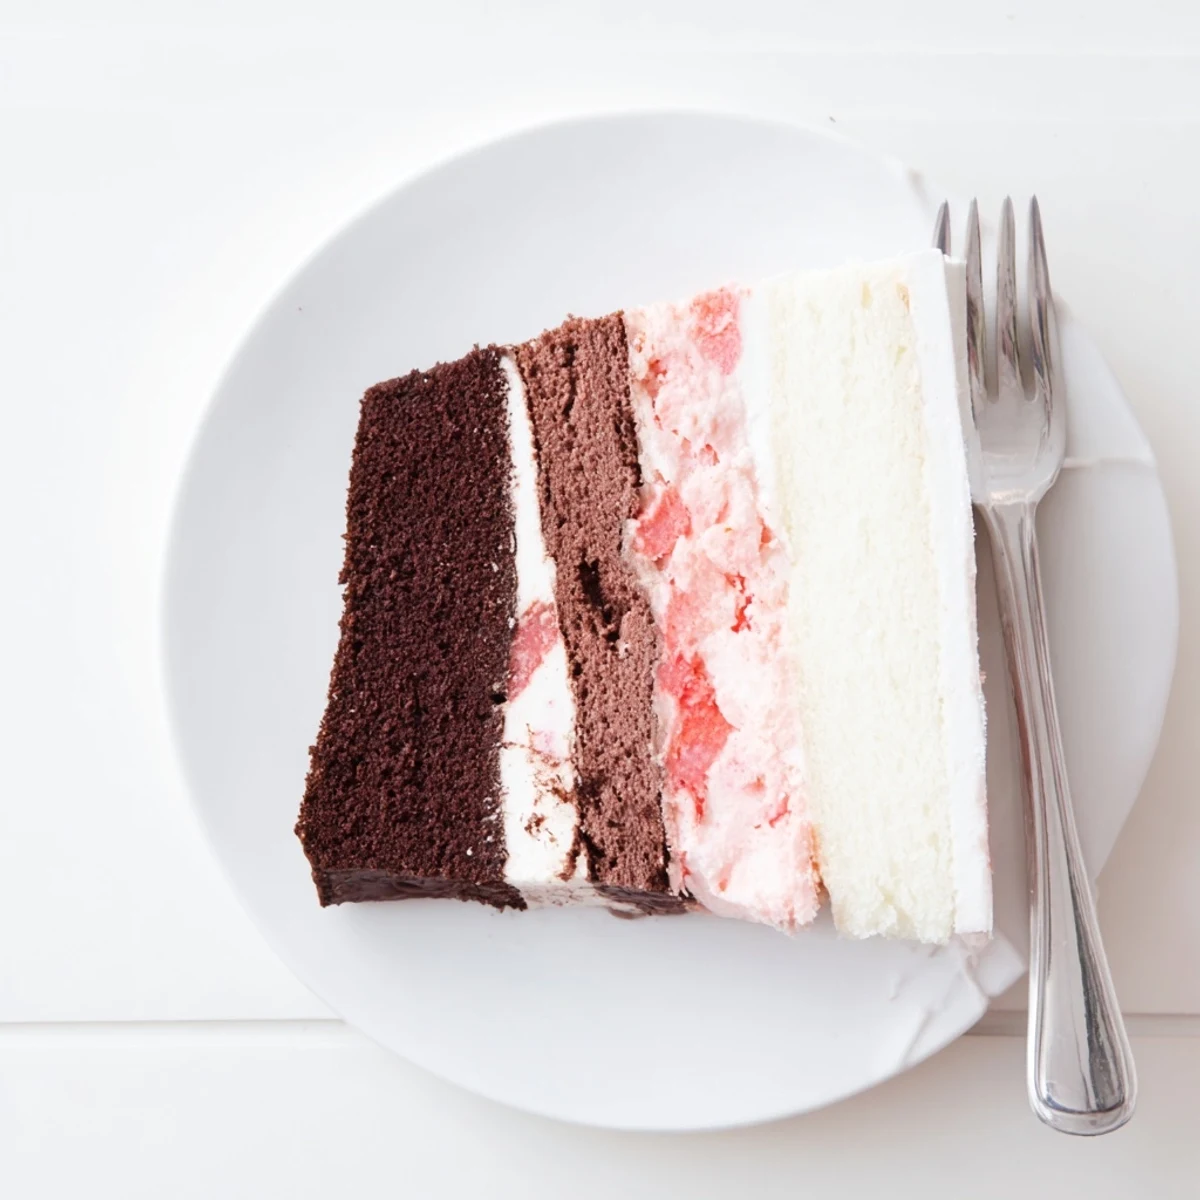
Save Create a stunning triple-layer dessert inspired by classic ice cream flavors. Each tier brings its own distinct character—rich chocolate complements bright strawberry notes, while vanilla bridges the flavors with subtle sweetness. The creamy buttercream frosting ties everything together into an impressive centerpiece for birthdays, holidays, or special occasions. Professional-looking results achievable with straightforward techniques and common kitchen tools.
My youngest daughter turned eight last spring, and after months of hearing about every possible cake flavor combination she could imagine, she announced she wanted ice cream cake. Not actual ice cream that would melt halfway through the party, but the Neapolitan combination in cake form. I'd never attempted three different cake batters in one day, and honestly, my kitchen looked like a small bakery explosion by noon.
The birthday party was chaotic, as eight-year-old celebrations tend to be, but when I brought out that cake with its perfectly striped layers visible through the slices, the room went quiet for exactly three seconds. Then came the questions about how I managed three different cake batters without losing my mind, and the birthday girl beaming like she'd personally invented the concept of Neapolitan desserts.
Ingredients
- All-purpose flour: The backbone of all three layers, providing structure and ensuring each slice holds together beautifully
- Unsalted butter: Room temperature butter is non-negotiable here, it creates the tender crumb that makes this cake feel special
- Granulated sugar: Sweetens and tenderizes, creaming it properly with butter gives you those light, airy layers
- Large eggs: Bind everything together and add richness, use them straight from the fridge for better volume when mixing
- Vanilla extract: Pure vanilla makes all the difference in the vanilla layer and the buttercream
- Whole milk: Creates moisture in the crumb, room temperature milk incorporates more smoothly into your batter
- Unsweetened cocoa powder: Dissolved in a bit of milk first prevents dry spots and ensures even chocolate distribution
- Fresh strawberries: Finely chopped berries add real fruit flavor and tiny pink specks throughout the strawberry layer
- Food coloring: Optional but helps achieve that pretty pink layer that makes the Neapolitan colors pop
- Powdered sugar: Sift it first or risk lumpy buttercream, and don't skip the pinch of salt to balance sweetness
Instructions
- Prep your pans and warm the oven:
- Preheat to 350°F and grease three 8-inch round pans with parchment paper circles, ensuring each layer releases cleanly later
- Whisk the dry foundation:
- Combine flour, baking powder, baking soda, and salt in a medium bowl, whisking thoroughly to distribute leavening evenly
- Cream butter and sugar:
- Beat softened butter and sugar until pale and fluffy, about 3 to 5 minutes, then add eggs one at a time, fully incorporating each before adding the next
- Build the base batter:
- Mix in vanilla, then alternate adding flour mixture and milk, beginning and ending with flour, mixing just until combined
- Divide into three bowls:
- Portion the batter equally into three separate bowls, using a kitchen scale for precision if you want perfectly even layers
- Create the chocolate layer:
- Whisk cocoa powder with 3 tablespoons milk until smooth, then gently fold into the first bowl of batter until fully incorporated
- Make the strawberry layer:
- Fold chopped strawberries, strawberry extract, and food coloring if using into the second bowl, being careful not to overmix
- Prepare the vanilla portion:
- Leave the third bowl as is, this pure vanilla batter will be your classic middle or top layer
- Bake each layer:
- Spread batter into prepared pans, smooth tops, bake for 25 to 30 minutes until a toothpick comes out clean, then cool 10 minutes before removing
- Make the buttercream:
- Beat butter until creamy, gradually add sifted powdered sugar and salt, then vanilla and cream, whipping until fluffy and spreadable
- Assemble with care:
- Trim domed tops for flat layers, stack chocolate, strawberry, and vanilla with buttercream between each, then apply a thin crumb coat and chill before final frosting
 Save
Save That birthday cake became the thing my daughter talked about for months, not just the flavors but how it looked on her plate. Now whenever Neapolitan anything comes up in conversation, she gives me this knowing little smile like we share a sweet secret about the day the kitchen became a bakery.
Making It Your Own
I've experimented with replacing the strawberry layer with raspberry puree during winter months when fresh berries are lackluster, and honestly, that tart brightness cuts through the rich chocolate and sweet vanilla beautifully. A friend of mine swaps the cocoa for melted dark chocolate in the chocolate layer for an even more intense chocolate experience.
Timing Your Layers
The key to stress-free layer cakes is baking ahead, wrapping each cooled layer tightly in plastic, and freezing them overnight. Frozen layers are remarkably stable during assembly and actually frost more cleanly than fresh ones, plus you can spread the cake work over two days instead of rushing everything in one afternoon.
Serving And Storing
This cake actually improves after chilling in the refrigerator for a few hours, as the flavors meld and the buttercream firms up for cleaner slicing. I always serve it at cool room temperature because the textures and flavors come through better than when it's ice cold.
- Use a sharp knife dipped in hot water and wiped clean between slices for the prettiest presentation
- Leftovers keep surprisingly well covered at room temperature for up to two days or refrigerated for five
- If freezing the whole decorated cake, chill it uncovered first to firm the frosting, then wrap tightly in plastic and foil
 Save
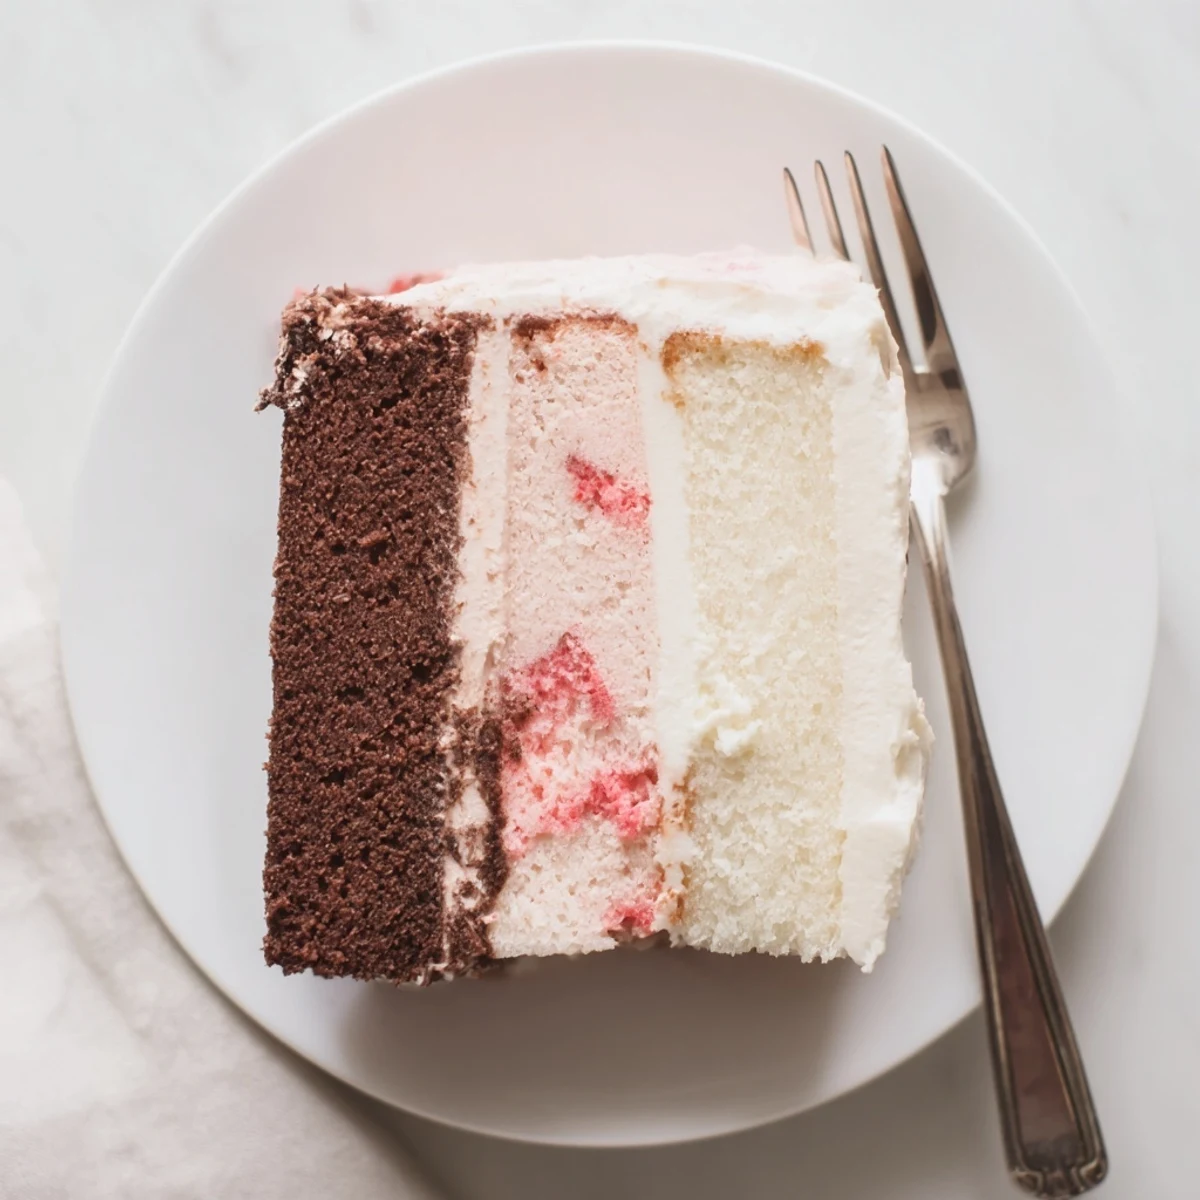
Save There's something almost magical about cutting into that first slice and seeing three perfect layers side by side, like a little edible surprise you created with your own hands. Every celebration deserves a cake that makes people pause and smile before they even take a bite.
Recipe FAQs
- → How do I ensure even layers?
-
Weigh batter portions equally using a kitchen scale for precision, or use visual division markers on your mixing bowls. Lightly tap pans on counter to release air bubbles before baking.
- → Can I make the layers ahead of time?
-
Yes, bake and cool layers completely, then wrap tightly in plastic and freeze for up to one month. Thaw overnight in refrigerator before frosting.
- → What if I don't have three cake pans?
-
Bake layers sequentially using the same pan—wash and prepare between batches. Alternatively, use two pans and divide one layer horizontally after cooling.
- → How do I prevent layers from sliding?
-
Apply a thin crumb coat first and refrigerate for 30 minutes to set. This creates stability before adding the final thick layer of buttercream.
- → Can I use fresh strawberries year-round?
-
Frozen pureed strawberries work excellently when fresh aren't in season. Thaw completely and drain excess liquid before folding into batter.