 Save
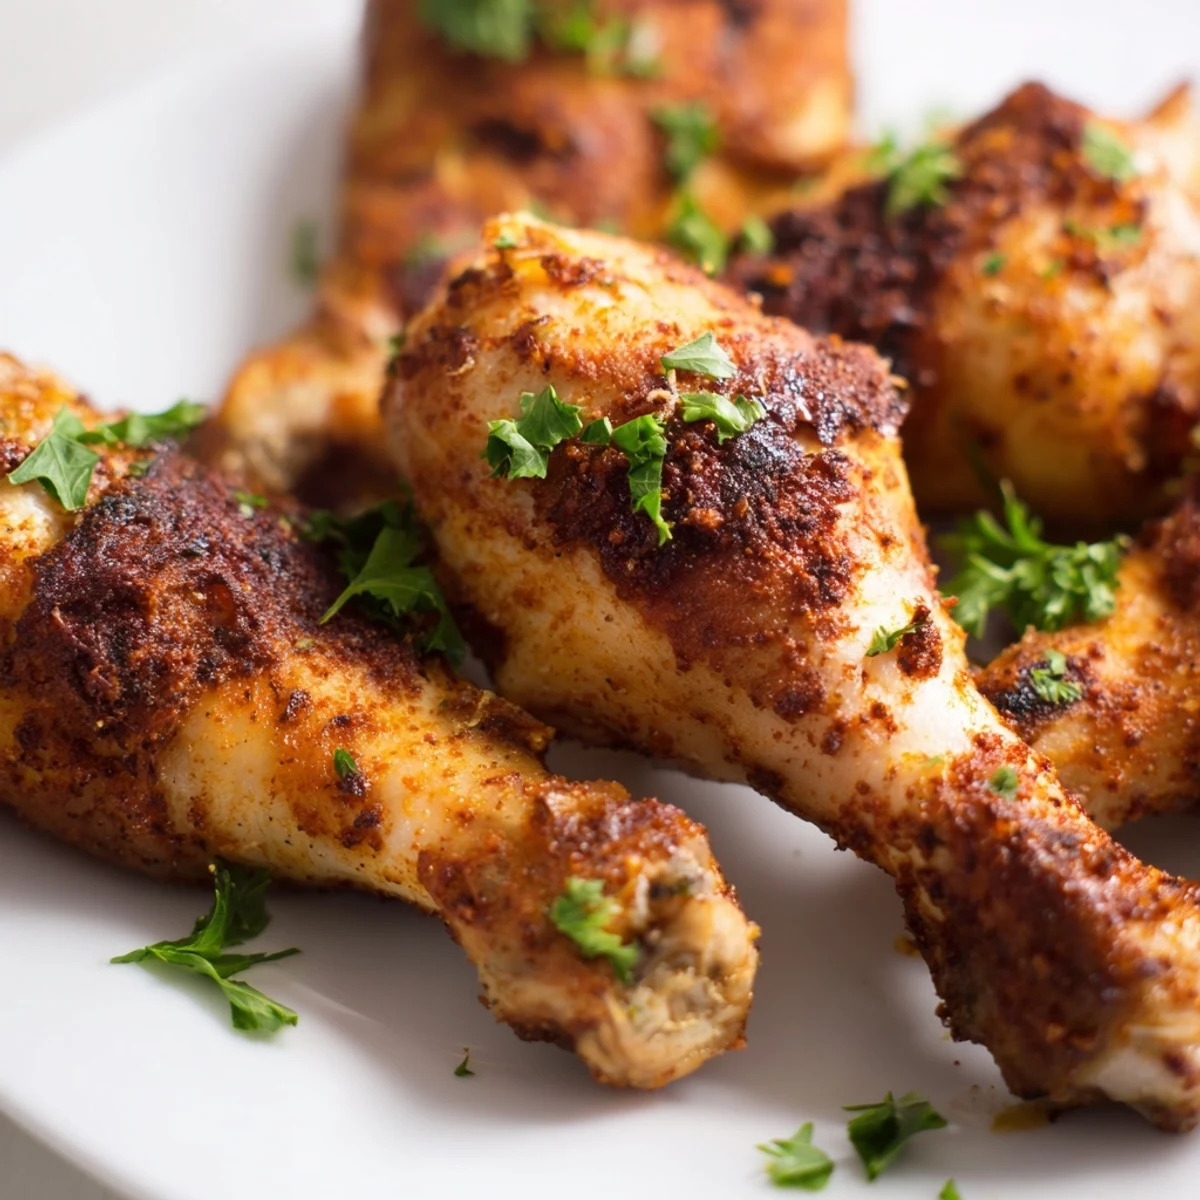
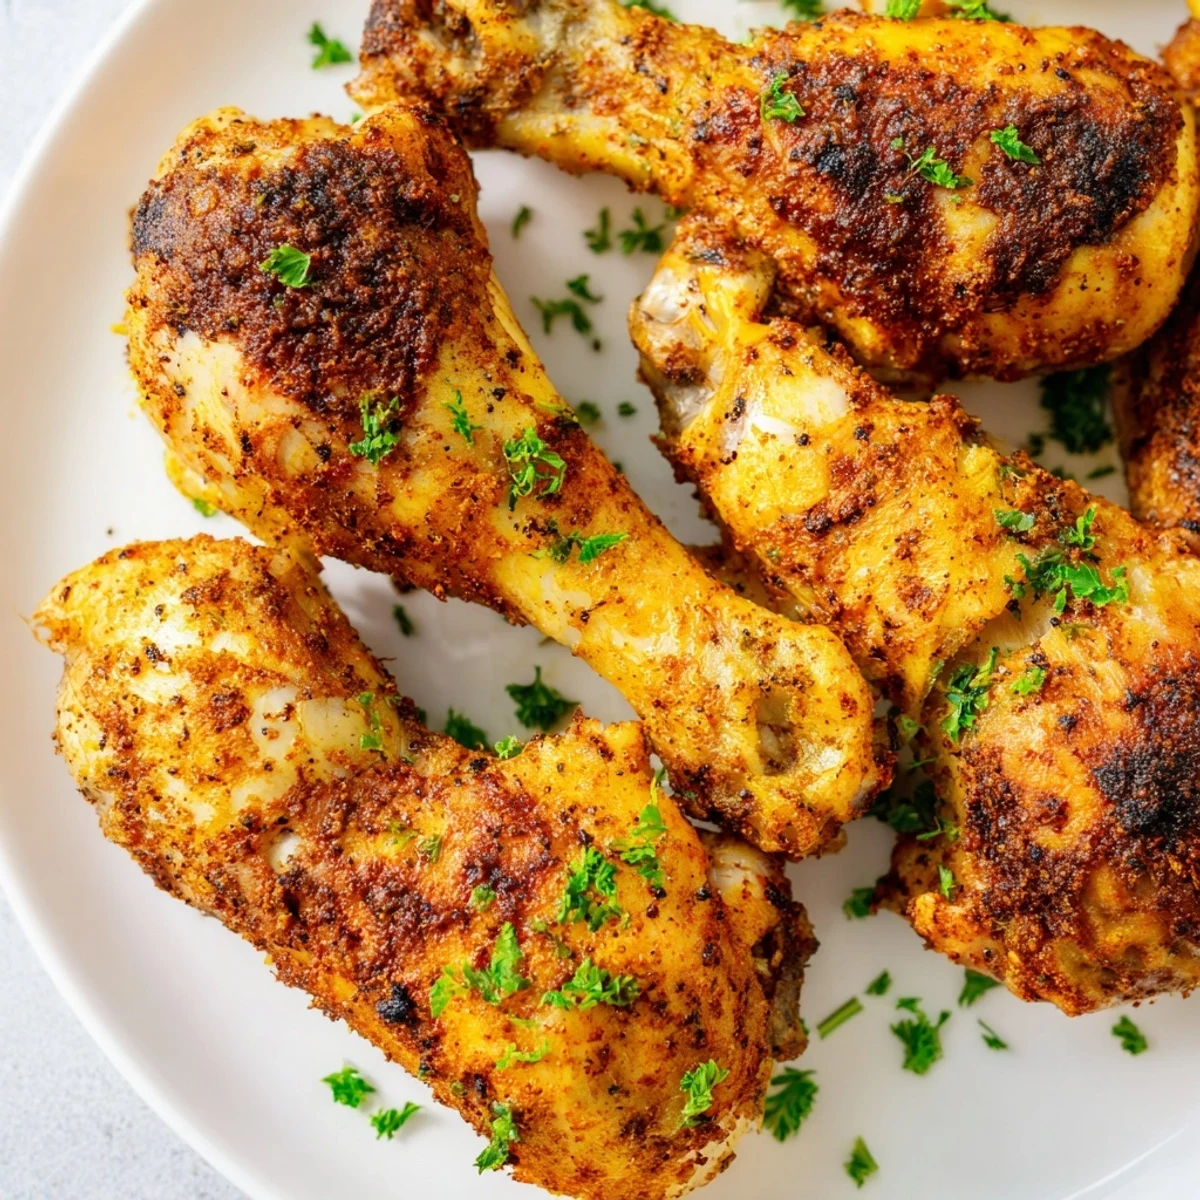
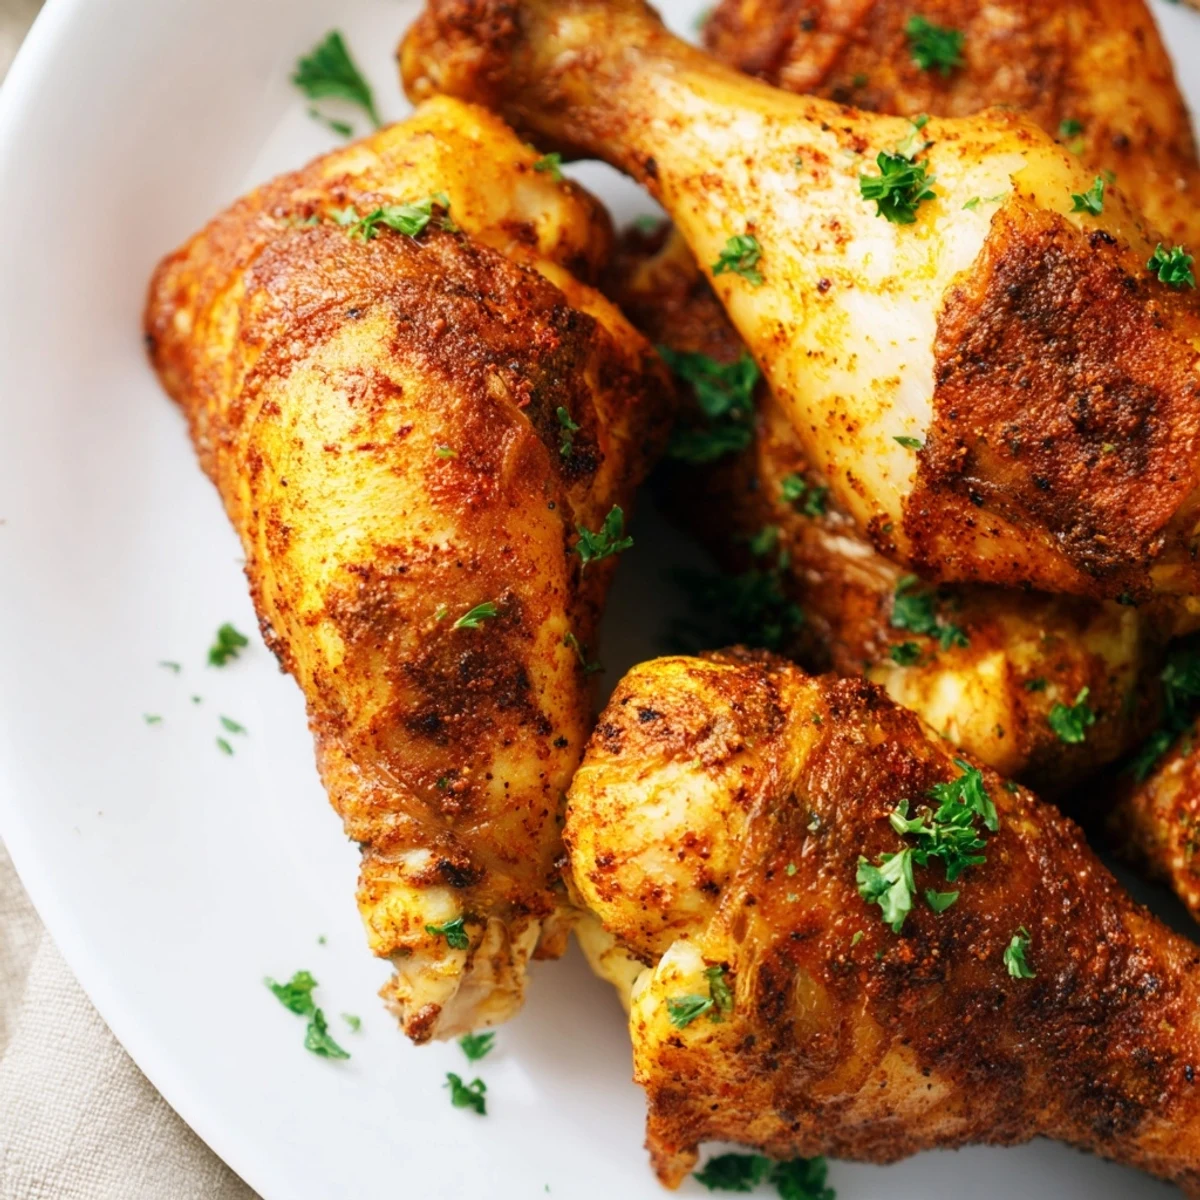
Save These oven baked chicken legs deliver perfectly crispy skin and tender, juicy meat every time. A simple blend of paprika, garlic powder, onion powder, and dried thyme creates deep, savory flavors that pair wonderfully with the natural richness of the chicken.
The high heat cooking method (425°F) ensures the skin becomes beautifully crisp while rendering excess fat. With just 10 minutes of prep time and 45 minutes in the oven, this is an ideal choice for busy weeknight dinners or casual weekend meals.
Serve these golden drumsticks with roasted vegetables, mashed potatoes, or a fresh garden salad for a complete, satisfying meal. The seasoning blend is easily customizable—add cayenne for heat or Italian seasoning for an herby twist.
My apartment smells like paprika and garlic right now, the kind of warm, savory scent that pulls roommates out of their bedrooms and into the kitchen asking, "What are you making?" I've been making these chicken legs since college when I discovered that a few basic spices could transform cheap cuts of meat into something that felt special enough for Friday dinner.
Last summer my brother came over unannounced after a terrible day at work. I threw these in the oven, and we sat at the counter picking the meat off the bones while he vented, and somehow dinner became therapy. He still texts me every few weeks asking if I'm making the chicken legs again.
Ingredients
- 8 chicken legs drumsticks, skin on: Bone-in skin-on legs have more flavor and moisture than boneless cuts, plus the skin becomes the best part when roasted properly
- 2 tablespoons olive oil: Helps the seasoning stick and promotes even browning, but melted butter works beautifully too
- 1 teaspoon paprika: Smoked paprika adds depth, regular paprika provides classic color and mild sweetness
- 1 teaspoon garlic powder: More reliable than fresh garlic for long roasting times since it will not burn and turn bitter
- 1 teaspoon onion powder: Round out the savory notes, often overlooked but essential for that restaurant-quality flavor
- 1 teaspoon dried thyme: Earthy and aromatic, thyme pairs naturally with chicken and holds up well to high heat
- 1 teaspoon salt: Essential for bringing out all the flavors and helping the skin crisp up properly
- ½ teaspoon black pepper: Freshly ground makes a noticeable difference in brightness and aroma
- 2 tablespoons fresh parsley, chopped: Adds a bright, fresh contrast to the rich roasted chicken
- Lemon wedges: A squeeze of acid cuts through the richness and wakes up the whole dish
Instructions
- Get your oven ready:
- Preheat to 425°F and line a baking sheet with foil. A wire rack on top helps air circulate for crispier skin, but a direct pan works perfectly fine too.
- Prep the chicken:
- Pat those legs completely dry with paper towels. Moisture is the enemy of crispy skin, so do not skip this step or rush through it.
- Season generously:
- Drizzle the olive oil over the chicken, then add all the spices to the bowl. Use your hands to toss everything together, making sure every inch of each leg is coated in the spice mixture.
- Arrange for success:
- Lay the chicken pieces in a single layer with space between them. Crowding the pan traps steam and prevents that gorgeous golden browning we are after.
- Roast to perfection:
- Bake for 40-45 minutes, flipping halfway through. You will know they are done when the skin is deep golden and crispy, and a meat thermometer reads 165°F at the thickest part.
- Rest and serve:
- Let the chicken rest for 5 minutes before serving. Sprinkle with fresh parsley and serve with lemon wedges for squeezing over the top.
 Save
Save These legs became my go-to during a months-long kitchen renovation when I was cooking with just a toaster oven and a microwave. The simplicity of the recipe became its superpower, and I still make them the same way even in my fully renovated kitchen.
Getting Extra Crispy Skin
The secret to restaurant-quality crispy skin is dryness and high heat. Pat the chicken thoroughly with paper towels before seasoning, and do not be afraid to roast at 425°F or even 450°F if your oven runs cool.
Making It Your Own
This spice blend is incredibly versatile. Try swapping thyme for rosemary for a piney, earthy flavor, or add ½ teaspoon of cayenne if you like heat. The basic formula of garlic powder, onion powder, and paprika works with almost any herb combination.
Serving Suggestions That Work
These legs pair beautifully with simple sides that do not compete for attention. Roasted vegetables, mashed potatoes, or a bright green salad with vinaigrette all complement the rich, savory chicken perfectly.
- Add a quick pan sauce by deglazing the baking sheet with white wine and chicken stock
- The leftovers make incredible chicken salad or taco filling for lunch the next day
- Double the recipe and freeze the cooked legs for emergency weeknight meals
 Save
Save There is something deeply satisfying about a recipe that comes together so simply yet tastes like you spent hours on it. These chicken legs have saved more weeknights than I can count.
Recipe FAQs
- → How do I know when the chicken legs are done?
-
The chicken legs are done when the internal temperature reaches 165°F (74°C) when measured with a meat thermometer inserted into the thickest part. The skin should be golden brown and crispy, and the juices should run clear when pierced.
- → Should I bake chicken legs covered or uncovered?
-
Bake uncovered for crispy skin. Covering with foil will steam the chicken, resulting in soft skin. For the crispiest results, use a wire rack on your baking sheet to allow air circulation and even cooking.
- → Can I use chicken thighs instead of drumsticks?
-
Absolutely. Chicken thighs work beautifully with this seasoning and cooking method. Adjust the cooking time slightly as thighs may cook faster—check for internal temperature after 35 minutes.
- → What temperature is best for baking chicken legs?
-
425°F (220°C) is ideal. This high heat crisps the skin quickly while cooking the meat through without drying it out. Lower temperatures result in softer skin and longer cooking times.
- → How long should chicken legs rest after cooking?
-
Let the chicken rest for 5 minutes after removing from the oven. This allows the juices to redistribute throughout the meat, ensuring each bite stays moist and flavorful.