
 Save
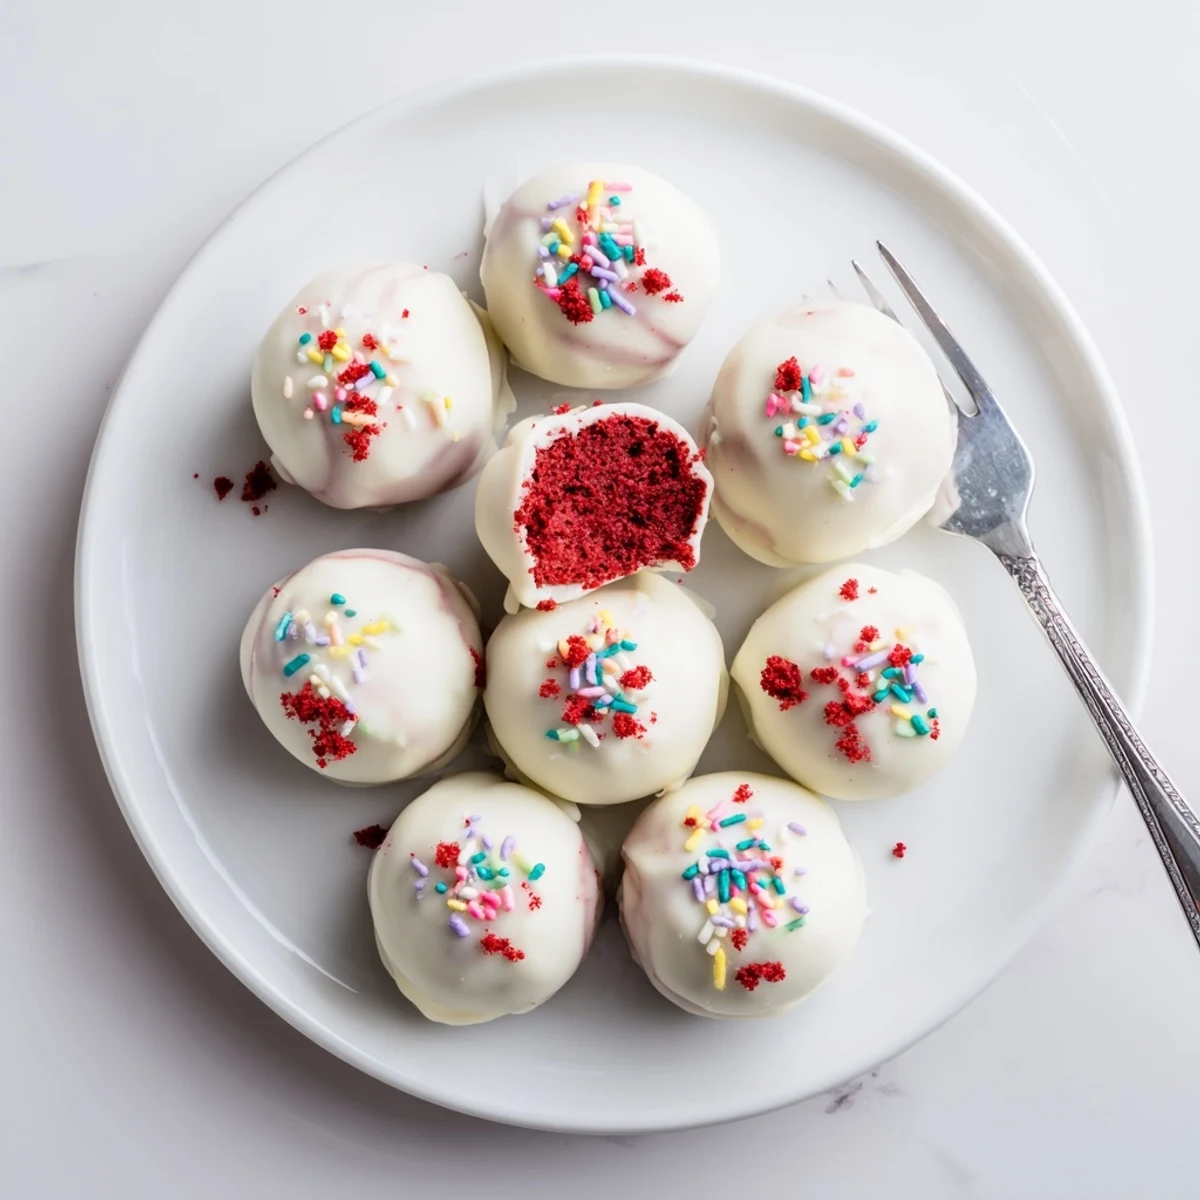
Save Creamy cheesecake filling blended with moist red velvet cake crumbs creates an irresistible bite-sized dessert. These no-bake treats feature a smooth white chocolate coating that perfectly complements the tangy-sweet filling. Simple to prepare and endlessly customizable with different chocolate coatings, sprinkles, or drizzles.
My kitchen counter looked like a crime scene after making these red velvet cheesecake balls for the first time, with smears of crimson cake crumbs and streaks of white chocolate everywhere, but the tiny batch that survived was gone within the hour. A friend grabbed three before I even finished coating the last ones and declared them dangerous. She was right.
I brought a tray of these to a holiday potluck last December and watched a quiet corner of the dessert table become the most popular spot in the room. Someone asked if I had ordered them from a bakery, which remains one of the finest compliments my messy hands have ever received.
Ingredients
- Red velvet cake (300 g): Day old cake works beautifully because it crumbles more evenly, and store bought is completely fine here since it all gets mashed together anyway.
- Cream cheese (150 g, softened): Let it sit out until it is truly soft, otherwise you will fight lumps in your filling and lose patience quickly.
- Powdered sugar (40 g): Just enough to sweeten the filling without making it cloying.
- Vanilla extract (1 tsp): Use the real stuff if you have it, as the flavor carries through the cream cheese noticeably.
- White chocolate (250 g): Higher quality chocolate melts more smoothly and sets with a nicer snap, so avoid the cheapest baking chips if possible.
- Red gel food coloring (optional): A tiny dab mixed into a portion of melted chocolate makes for a striking drizzle on top.
- Sprinkles or cake crumbs (optional): Save a few tablespoons of cake crumbs before mixing for a rustic garnish that ties everything together.
Instructions
- Reduce the cake to rubble:
- Tear the red velvet cake into chunks and crumble it finely using your fingers or pulse it in a food processor until no large pieces remain. The finer the crumbs, the smoother your final balls will be.
- Whip the cheesecake filling:
- Beat the softened cream cheese, powdered sugar, and vanilla together until completely silky with no streaks. Scrape the bowl once or twice because cream cheese loves to hide in clumps along the bottom.
- Marry the two mixtures:
- Pour the cheesecake filling over the cake crumbs and stir aggressively until everything binds into a dense, slightly sticky dough. It should hold together when you squeeze a small amount in your palm.
- Roll into balls:
- Scoop roughly one tablespoon portions and roll them between your palms into neat rounds, placing each on a parchment lined tray. Keep your hands slightly damp if the mixture sticks too much.
- Freeze until firm:
- Slide the tray into the freezer for thirty minutes so the balls firm up enough to handle the dipping stage without falling apart. Do not skip this step or you will have a melty mess on your hands.
- Melt the white chocolate:
- In a microwave safe bowl, heat the chopped white chocolate in thirty second bursts, stirring thoroughly between each one until the chocolate is glossy and pourable. Patience here prevents scorched chocolate.
- Dip and coat:
- Lower each frozen ball into the melted chocolate using a fork or dipping tool, roll it gently to cover all sides, and tap off the excess before returning it to the tray. Work quickly because cold balls help the chocolate set fast.
- Decorate while wet:
- Before the coating hardens, add sprinkles, a pinch of reserved cake crumbs, or a drizzle of tinted melted chocolate. The window is short, so decorate each one right after dipping.
- Chill and set:
- Refrigerate the finished balls for about fifteen minutes until the chocolate shell is completely firm, then serve them chilled or let them sit at room temperature for a few minutes before enjoying.
 Save
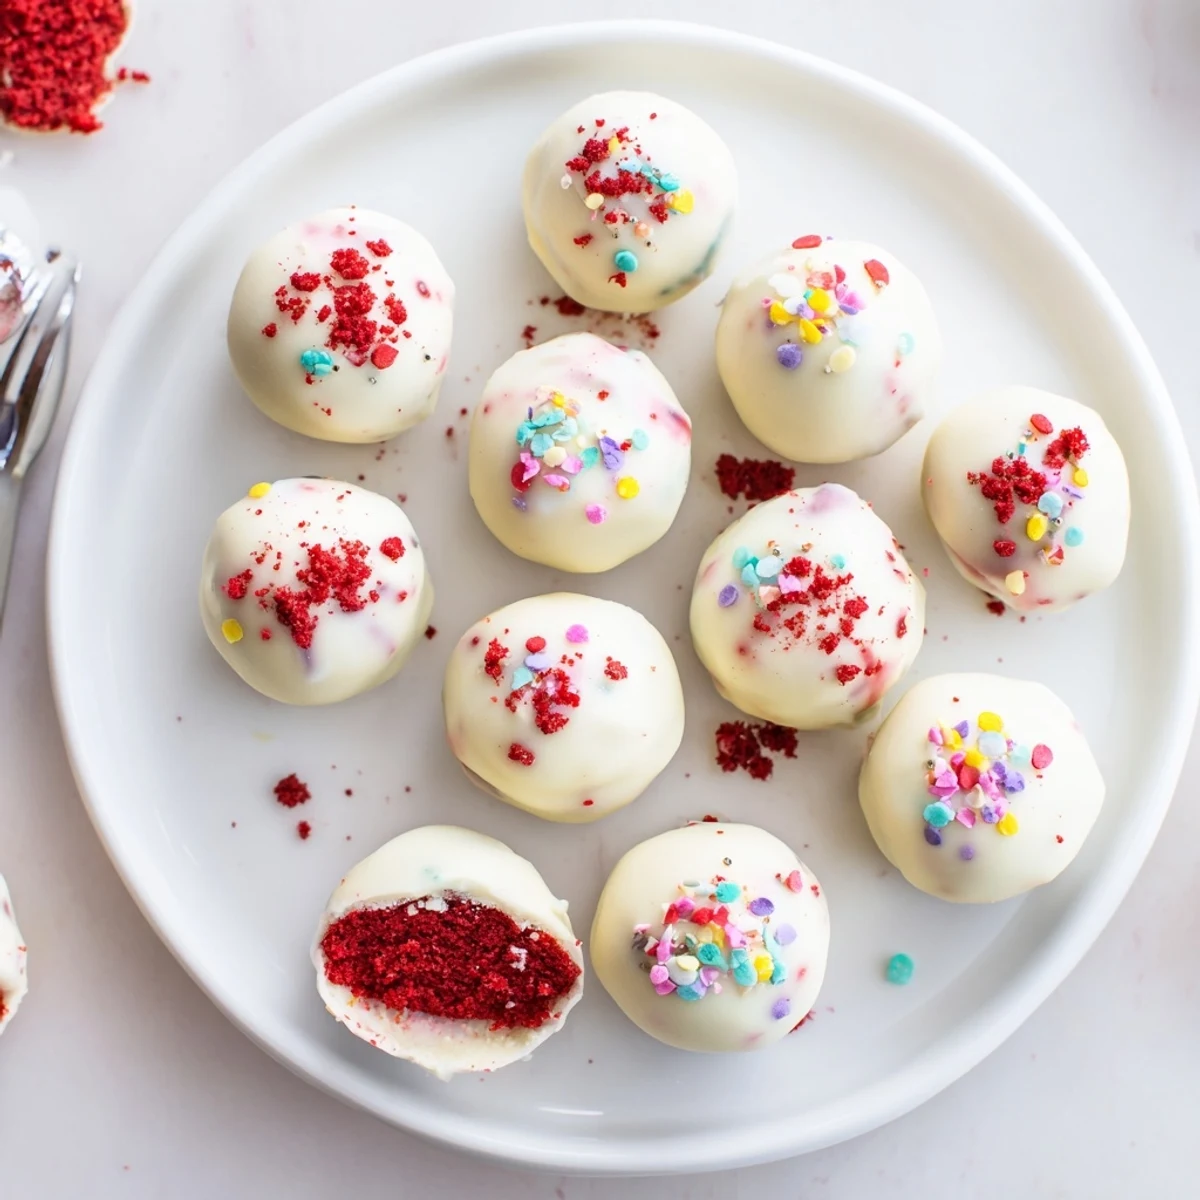
Save The moment these went from a chaotic kitchen experiment to something I would actually make again was when my partner found the leftover tray in the fridge at midnight and ate five of them standing at the counter in the dark.
Storing and Making Ahead
These balls keep remarkably well in an airtight container in the refrigerator for up to five days, and the chocolate shell actually firms up nicely after a day of resting. I have made them two days ahead of a party and they tasted even better than fresh, with the flavors melding into something richer and more cohesive.
Swapping the Chocolate Coating
White chocolate is classic for red velvet, but dark chocolate creates a gorgeous bittersweet contrast that balances the sweetness beautifully. Milk chocolate works too, though it tends to be softer at room temperature, so keep that in mind if you are serving outdoors or in warm conditions.
Tools That Make This Easier
A cookie scoop sized at about one tablespoon saves time and gives you uniformly round portions without any guessing. Beyond that, a simple fork is honestly the best dipping tool, but a few other things help streamline the process.
- Line your tray with parchment paper so the chocolate does not stick to the surface.
- Keep a bowl of warm water nearby to rinse sticky fingers between rolling and dipping.
- Test melt a small piece of chocolate first to check if it seizes before committing the whole batch.
 Save
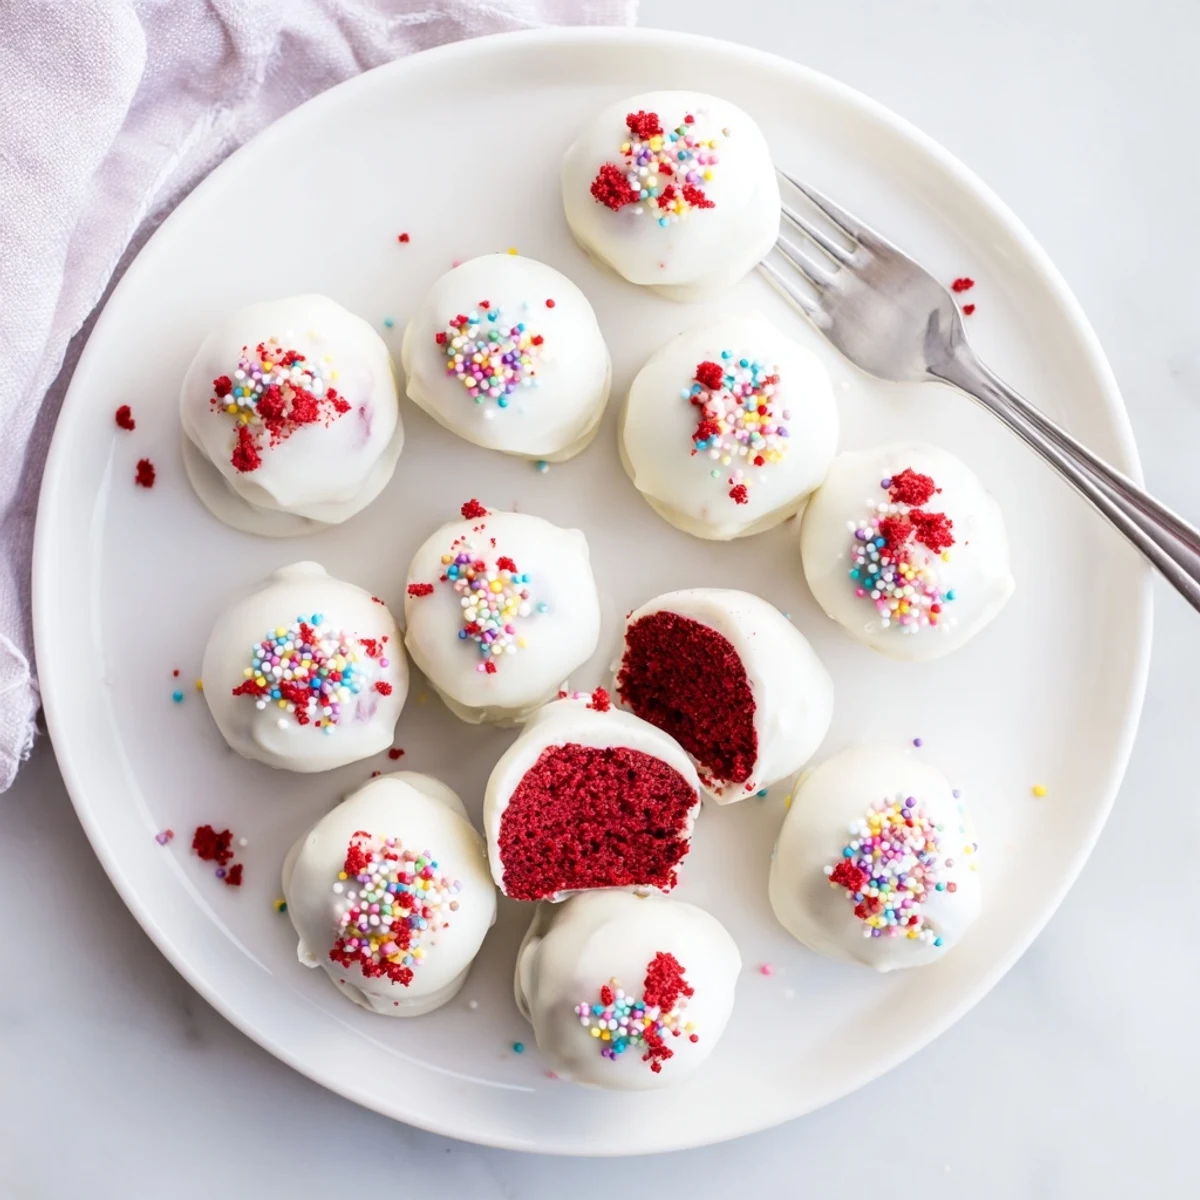
Save These little bites have a way of disappearing faster than anything else on a dessert table, so my only real advice is to make more than you think you need. They store beautifully, so extra batches are never a problem.
Recipe FAQs
- → Can I use store-bought cake?
-
Yes, store-bought red velvet cake works perfectly. Simply crumble it into fine crumbs before mixing with the cheesecake filling.
- → How long do these keep?
-
Store in an airtight container in the refrigerator for up to 5 days. They can also be frozen for up to 2 months.
- → What other chocolates work for coating?
-
Dark chocolate, milk chocolate, or even colored candy melts create delicious alternatives to white chocolate coating.
- → Why chill the balls before dipping?
-
Chilling firms the mixture, making it easier to handle and preventing the balls from falling apart during the chocolate dipping process.
- → Can I make these ahead for parties?
-
Absolutely. Prepare these 2-3 days in advance and store refrigerated. The flavors actually develop better after sitting overnight.
- → How do I prevent cracks in the chocolate?
-
Ensure the balls are thoroughly chilled and room temperature when dipping. Avoid moving them until the chocolate completely sets.