 Save
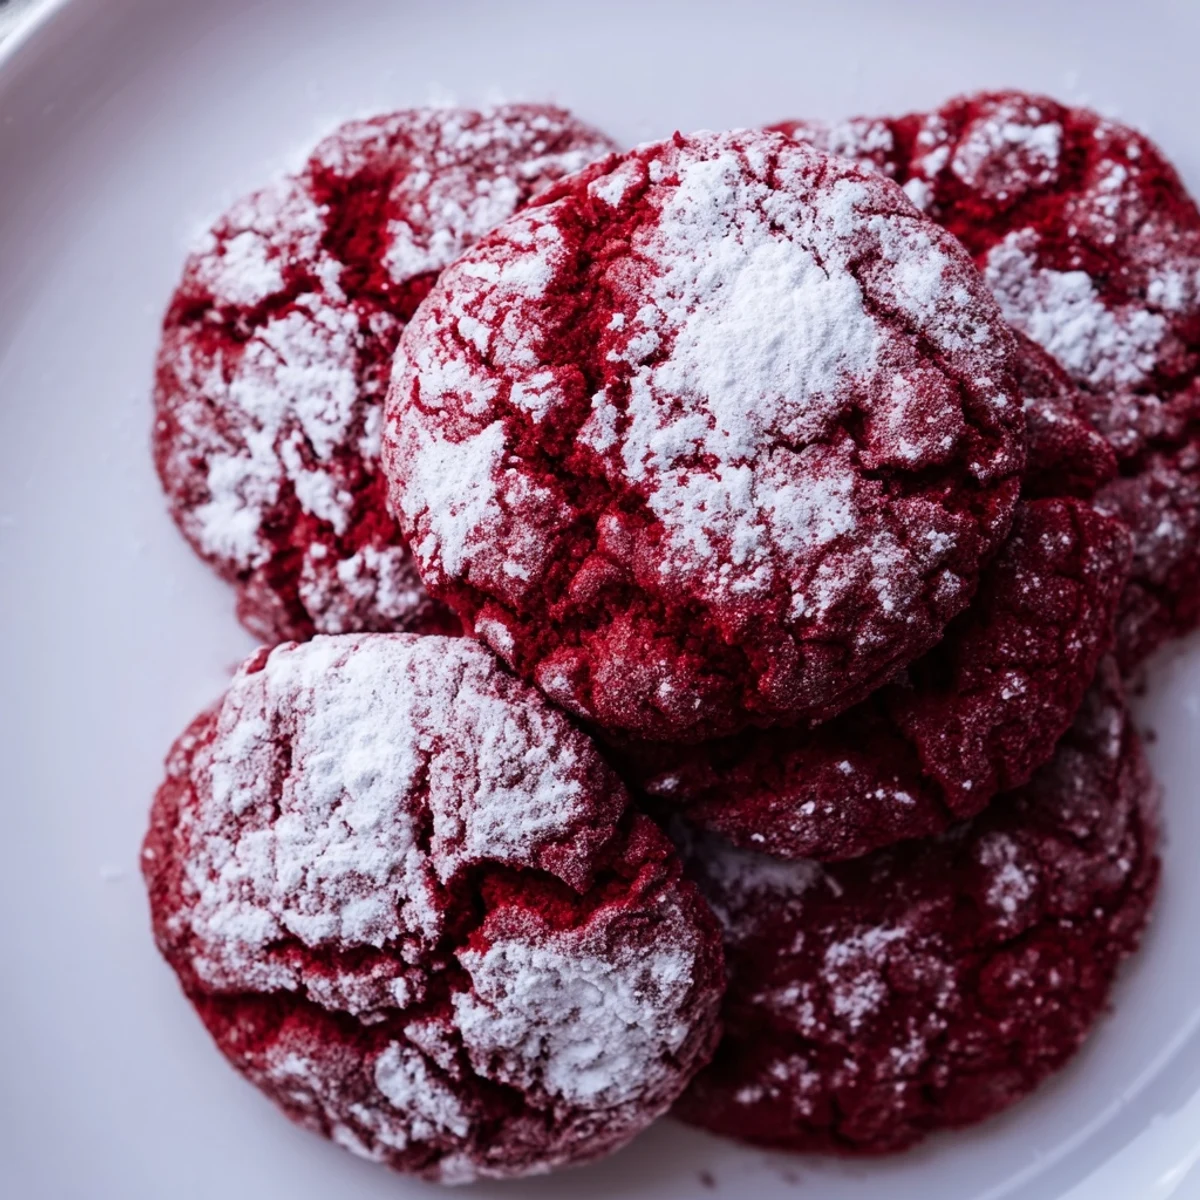
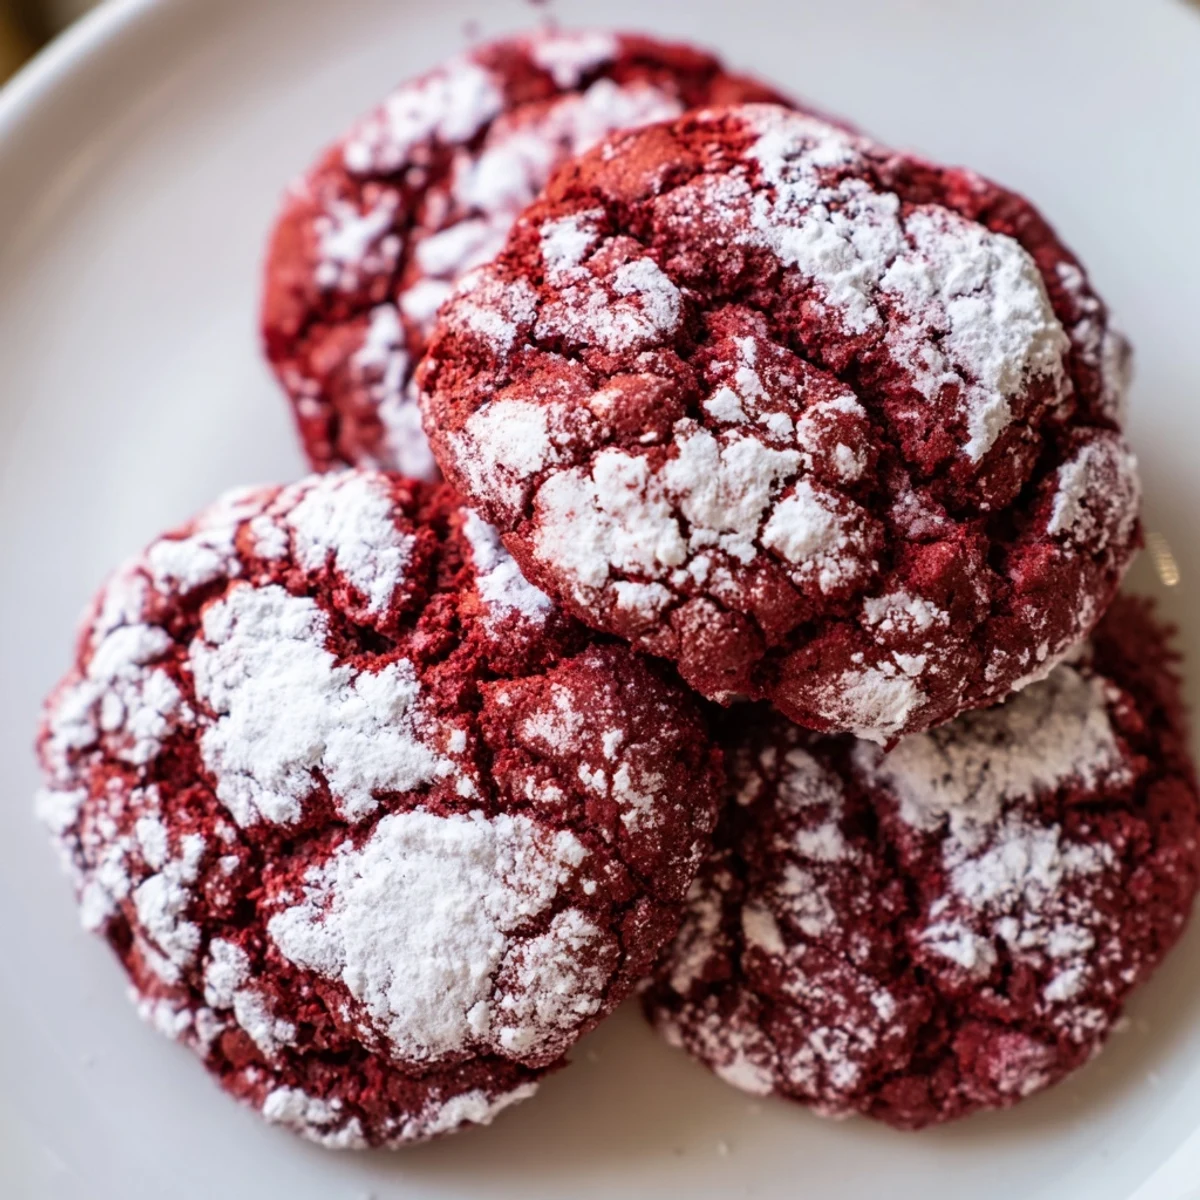
Save These soft, chewy red velvet cookies are baked to perfection with a subtle cocoa undertone and a festive coating of powdered sugar. The dough is chilled to firm before baking, ensuring a tender texture with delicate crinkles. This classic American-style dessert combines rich cocoa and vibrant red hues, balanced by vanilla and a hint of vinegar for depth. Ideal for holiday celebrations or any sweet craving, they offer a pleasing contrast between a slightly crisp edge and a moist center.
My roommate walked into the kitchen last December and immediately asked what on earth I was baking. The whole apartment smelled like butter and vanilla, with these striking red cookies cooling on every available surface. She took one bite and declared them the official office party cookie for the next three years running.
Last Christmas I made four dozen for a cookie exchange and watched them disappear in under twenty minutes. My cousin actually followed me around the party until I promised to write the recipe on a napkin for her.
Ingredients
- 1 2/3 cups all-purpose flour: This foundation gives the cookies structure while still keeping them tender
- 2 tbsp unsweetened cocoa powder: Just enough to add depth without overpowering that classic red velvet flavor
- 1 tsp baking powder: Helps create those beautiful cracks as the cookies rise in the oven
- 1/4 tsp baking soda: Works with the vinegar to give the cookies their signature texture
- 1/2 tsp salt: Balances the sweetness and enhances the chocolate notes
- 1/2 cup unsalted butter: Room temperature butter creams perfectly into the sugar for that melt in your mouth texture
- 1 cup granulated sugar: Sweetens while creating that crinkly exterior we all love
- 2 large eggs: Bind everything together and add richness to the dough
- 1 tsp pure vanilla extract: Pure vanilla makes such a difference here dont skimp
- 1 tbsp red food coloring: Gel coloring gives you that vibrant red with less liquid
- 1/2 tsp white vinegar: Reacts with the baking soda for extra tenderness
- 1/2 cup powdered sugar: Creates that signature snow cracked coating
Instructions
- Preheat and Prep:
- Heat your oven to 350F and line two baking sheets with parchment paper so nothing sticks
- Whisk Dry Ingredients:
- In a medium bowl combine the flour cocoa powder baking powder baking soda and salt until everything is evenly distributed
- Cream Butter and Sugar:
- Beat the softened butter and granulated sugar together for about 3 minutes until the mixture looks pale and fluffy
- Add Wet Ingredients:
- Beat in the eggs one at a time then mix in the vanilla red food coloring and vinegar until the color is uniform
- Combine Dough:
- Gradually stir in the dry ingredients just until you no longer see streaks of flour be careful not to overmix
- Chill the Dough:
- Cover the bowl and refrigerate for at least 30 minutes or up to 2 hours so the cookies hold their shape
- Roll in Sugar:
- Scoop tablespoon sized portions of dough roll them into balls and coat each one generously in powdered sugar
- Bake to Perfection:
- Place the sugar coated balls 2 inches apart on your prepared baking sheets and bake for 11 to 13 minutes until set around the edges
- Cool Completely:
- Let them rest on the baking sheet for 5 minutes then move them to a wire rack to finish cooling
 Save
Save My niece now requests these for every family gathering birthday and school event. She even helped me make them last year and informed me she is taking over the recipe when she goes to college.
Getting the Perfect Red
Liquid food coloring works but gel coloring gives you that intense red without adding too much moisture to your dough. Start with one tablespoon and add more if you want a deeper hue.
Making Them Ahead
The dough actually improves after a day in the refrigerator so feel free to mix it up the night before. You can also scoop and freeze the dough balls then roll them in sugar just before baking.
Serving and Storing
These cookies stay soft and chewy for days when stored in an airtight container at room temperature. They also freeze beautifully if you want to get a head start on holiday baking.
- Try adding white chocolate chips for a creamy contrast
- Serve them alongside a glass of cold milk or hot cocoa
- Package them in clear bags tied with red ribbon for gifts
 Save
Save These cookies have become my go to for everything from cookie swaps to last minute holiday gifts. There is something magical about breaking through that snowy sugar crust to find that soft red velvet center.
Recipe FAQs
- → What gives the cookies their red color?
-
The vibrant hue comes from red food coloring added to the batter, enhancing the classic red velvet appearance.
- → Why is vinegar used in the mixture?
-
Vinegar helps react with baking soda, creating a tender texture and subtle tang that complements the cocoa flavor.
- → How do I achieve the crinkled powdered sugar finish?
-
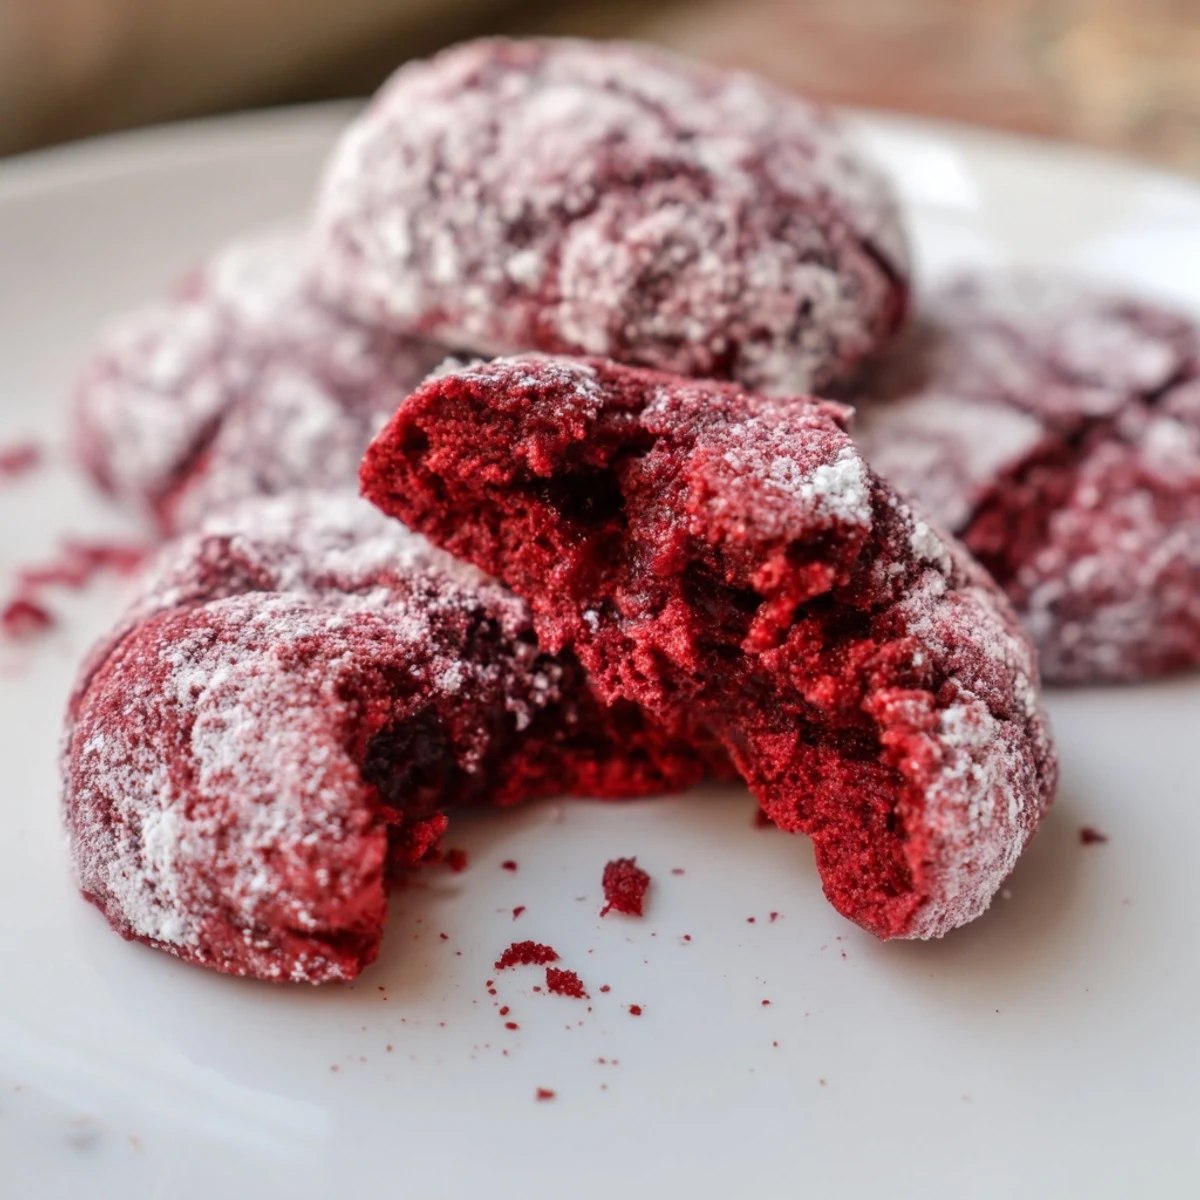
Before baking, roll each dough ball generously in powdered sugar. The sugar cracks as the cookies expand, forming a festive crinkle effect.
- → Can I prepare the dough in advance?
-
Yes, refrigerate the dough for 30 minutes to 2 hours before baking, which firms it up and improves the cookie's texture.
- → What texture should I expect once baked?
-
The edges will be slightly crisp while the center remains soft and chewy, creating a satisfying bite.
- → Are substitutions allowed for food coloring?
-
Gel food coloring can be used for a more vibrant color, and adding more food coloring deepens the red tone.