
 Save
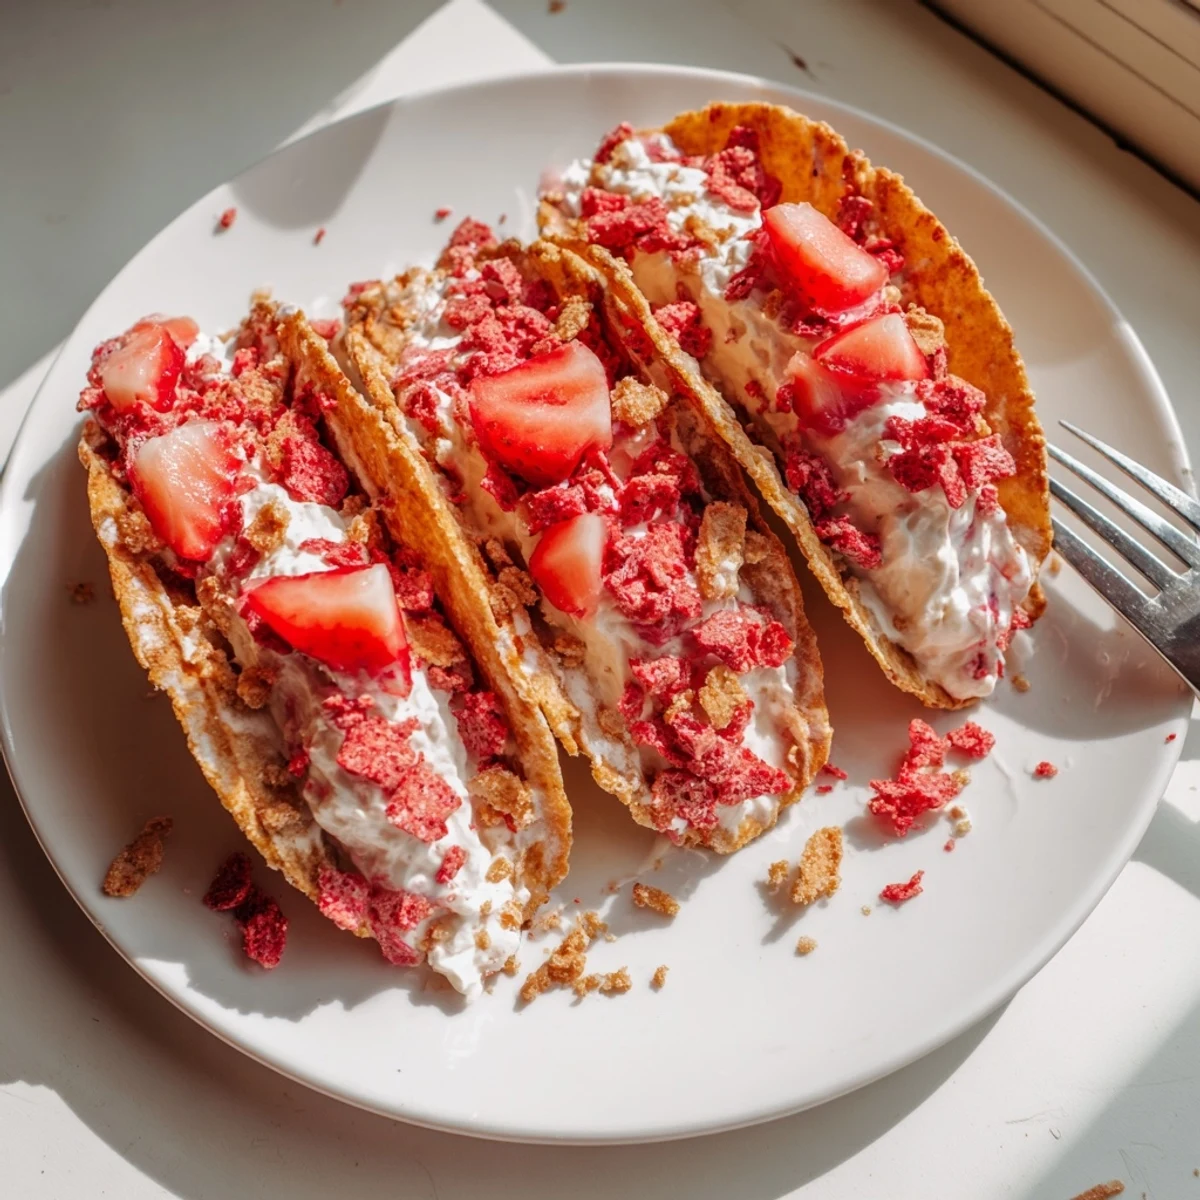
Save These strawberry crunch cheesecake tacos combine crispy baked flour tortilla shells with a light, fluffy cheesecake mousse filling. The tortillas are brushed with butter and cinnamon sugar, then draped over oven racks to form the perfect taco shape while baking to a golden crunch.
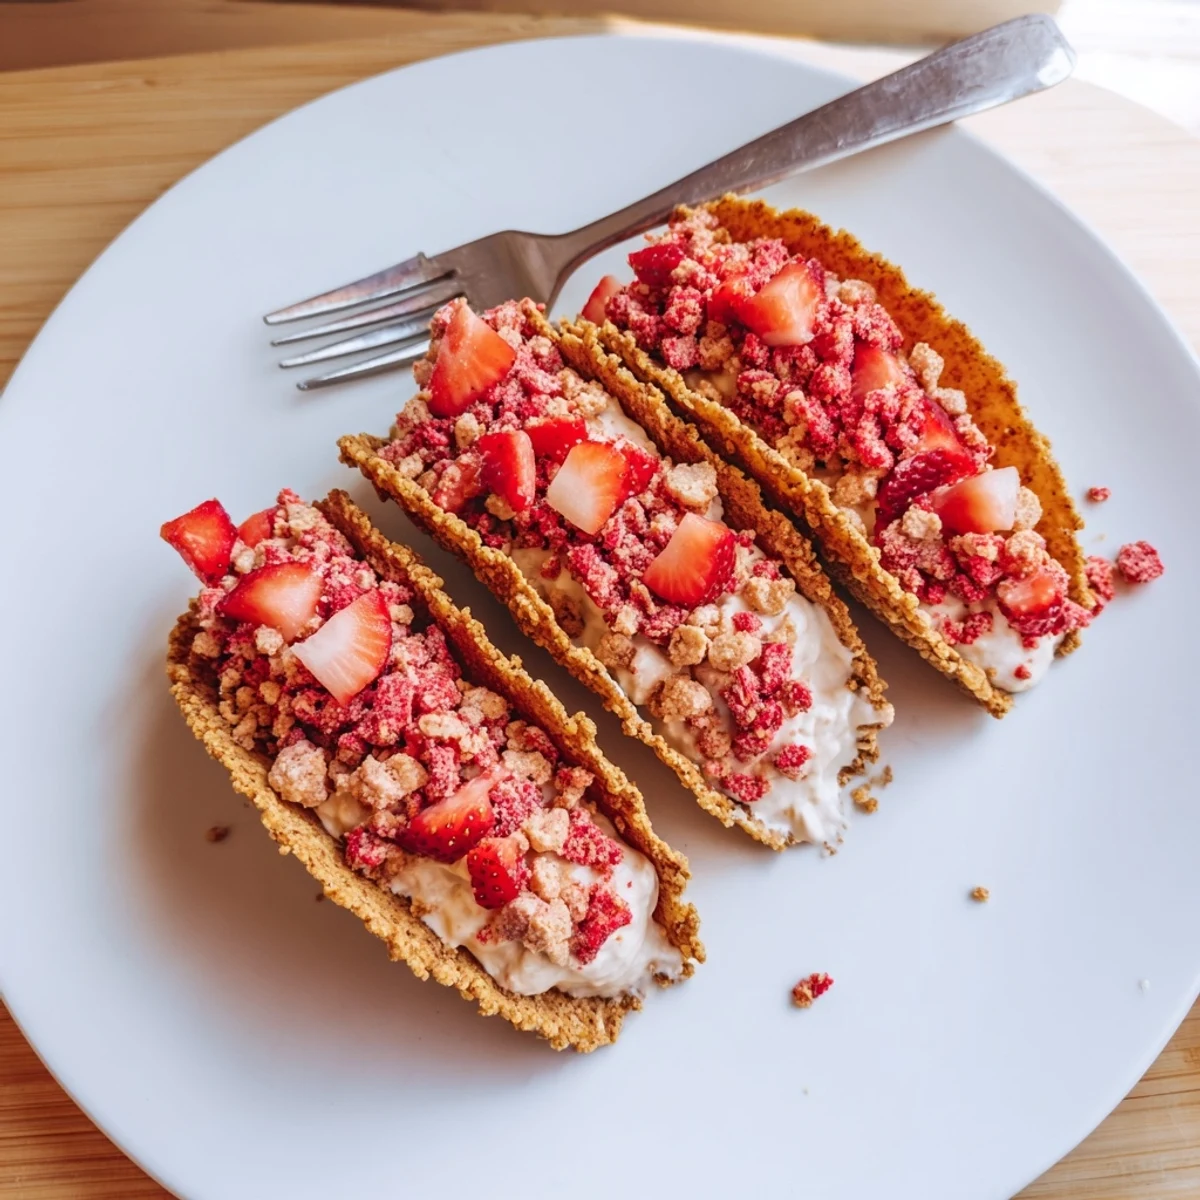
The filling is a simple blend of cream cheese, whipped heavy cream, sugar, and vanilla, piped into each shell. A vibrant strawberry crunch topping made from pulsed freeze-dried strawberries and crispy rice cereal adds texture and fruity flavor. Finished with fresh diced strawberries, these tacos are best assembled just before serving to keep the shells crisp.
My kitchen smelled like a strawberry field collided with a bakery the afternoon I accidentally invented these tacos while trying to use up leftover tortillas and cream cheese.
I brought a tray of these to a potluck and watched three adults get genuinely competitive over the last taco.
Ingredients
- 8 small flour tortillas: The smaller ones hold their shape better and feel more like a handheld treat.
- 2 tbsp unsalted butter, melted: Brushed on generously so the cinnamon sugar actually sticks and crisps.
- 2 tbsp granulated sugar: Just enough sweetness on the shell without overpowering the filling.
- 1 tsp ground cinnamon: This is the secret that makes everyone ask what that warm flavor is.
- 225 g cream cheese, softened: Leave it out for an hour or microwave in short bursts because cold cream cheese will leave lumps.
- 120 ml heavy cream: Whipped and folded in for that airy mousse texture that feels lighter than traditional cheesecake.
- 60 g granulated sugar: Adjust to your taste depending on how sweet your strawberries are.
- 1 tsp vanilla extract: Use the real stuff here as it is the backbone of the filling flavor.
- 120 g freeze-dried strawberries: These concentrate all the strawberry flavor without adding moisture to the crunch.
- 100 g crispy rice cereal: Gives the topping its signature snap and crackle.
- 2 tbsp unsalted butter, melted (for topping): Binds the crunch together so it actually clings to the cheesecake.
- 2 tbsp granulated sugar (for topping): Adds a subtle caramelized edge to the strawberry crumbs.
- 150 g fresh strawberries, diced: The juicy pop of fresh fruit on top balances everything out beautifully.
Instructions
- Shape and bake the taco shells:
- Preheat your oven to 180°C. Brush each tortilla with melted butter, sprinkle with cinnamon sugar, and drape them directly over the bars of your oven rack so they fold into taco shapes. Bake 7 to 9 minutes until golden and crisp, then let them cool completely on the rack.
- Whip up the cheesecake filling:
- Beat the softened cream cheese, sugar, and vanilla in a bowl until completely smooth with no streaks. In a separate bowl, whip the heavy cream to medium peaks, then gently fold it into the cream cheese mixture with a spatula until just combined.
- Make the strawberry crunch:
- Pulse the freeze-dried strawberries and rice cereal in a food processor until you get a coarse crumb with some texture remaining. Stir in the melted butter and sugar by hand until everything is evenly coated.
- Assemble the tacos:
- Pipe or spoon the cheesecake filling generously into each cooled shell. Sprinkle the strawberry crunch over the top so it sticks into the filling, then finish with a handful of fresh diced strawberries.
- Serve immediately:
- These are at their absolute best within the first 30 minutes while the shells stay crunchy and the mousse stays cold.
 Save
Save My niece now requests these for every birthday instead of cake, and honestly I cannot even argue with her choice.
Keeping the Shells Crispy
The biggest lesson I learned was patience when cooling the shells. If you fill them while they are still warm the butter starts melting into the cheesecake and everything slides apart.
Making It Your Own
Swap the strawberries for freeze-dried raspberries or mango and suddenly you have an entirely different dessert that still works perfectly.
Storing and Transporting
Keep the shells, filling, and crunch stored separately in airtight containers if you are making them for a party. Assemble on site for maximum wow factor.
- The crunch topping stays fresh in a sealed bag at room temperature for up to three days.
- The cheesecake filling holds in the fridge for two days and actually tastes better after resting.
- Never refrigerate assembled tacos unless you enjoy soggy tortillas.
 Save
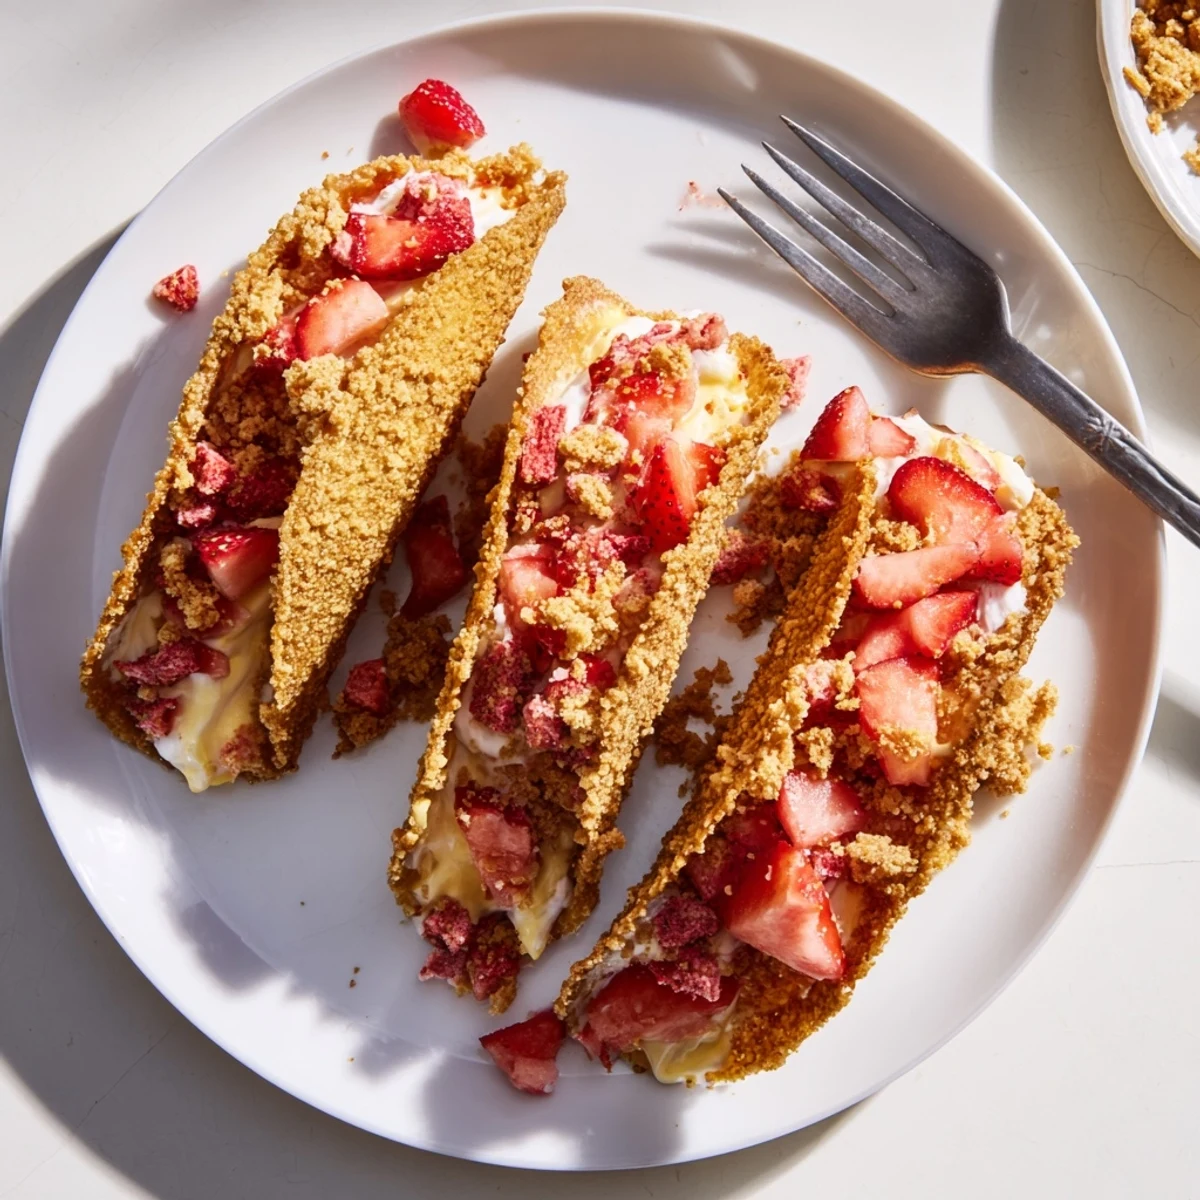
Save These tacos are proof that dessert does not need to be complicated to be unforgettable. Make them once and you will be finding excuses to make them again.
Recipe FAQs
- → Can I make the taco shells ahead of time?
-
Yes, the baked taco shells can be prepared up to 2 days in advance. Store them in an airtight container at room temperature to maintain their crispness. Avoid refrigerating them, as moisture will soften the shells.
- → What can I substitute for freeze-dried strawberries?
-
You can crush regular dried strawberries or use crushed strawberry-flavored cookies like Golden Oreo thins. For a less intense strawberry flavor, finely crushed graham crackers mixed with a drop of strawberry extract work well too.
- → How do I keep the taco shells crispy?
-
Assemble the tacos as close to serving time as possible. The cheesecake filling adds moisture that softens the shells over time. If you need to prepare ahead, keep the shells, filling, and topping stored separately and combine just before serving.
- → Can I use corn tortillas instead of flour?
-
Flour tortillas are recommended because they bake up crispier and hold their shape better. Corn tortillas tend to be more brittle and may crack when shaped. If using corn tortillas, warm them slightly before shaping to prevent breakage.
- → Is there a gluten-free option for this dessert?
-
Use gluten-free flour tortillas and verify that your crispy rice cereal is certified gluten-free. All other ingredients, including cream cheese, heavy cream, and freeze-dried strawberries, are naturally gluten-free.
- → Can I pipe the filling instead of spooning it?
-
Absolutely. Transfer the cheesecake mousse to a piping bag fitted with a large star tip for a polished presentation. Piping also gives better control over the amount of filling in each taco and creates an attractive swirl on top.