 Save
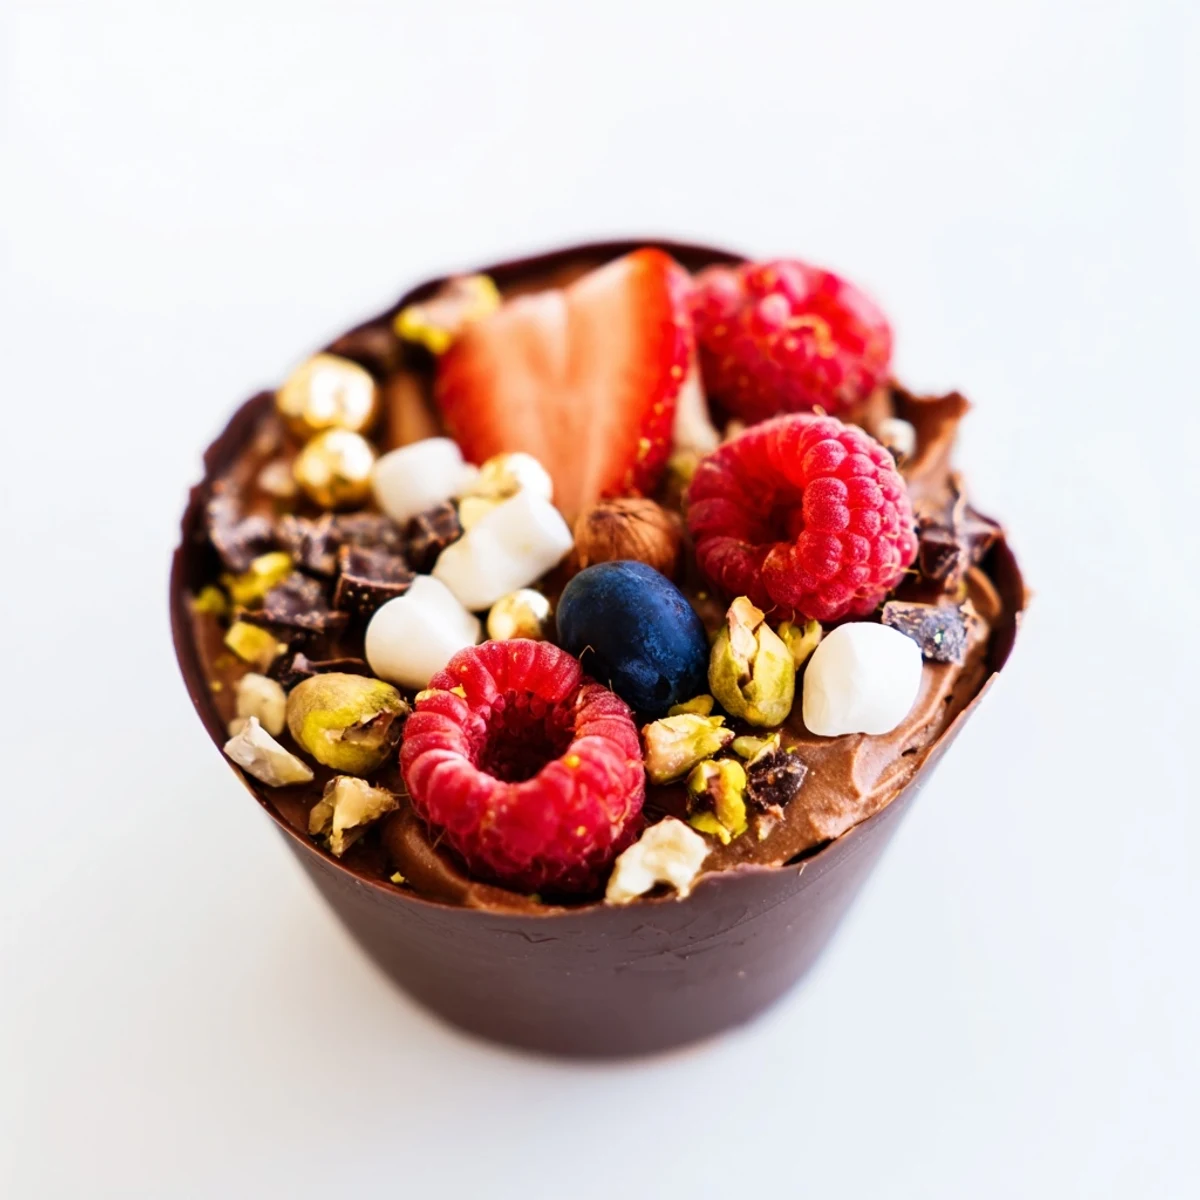
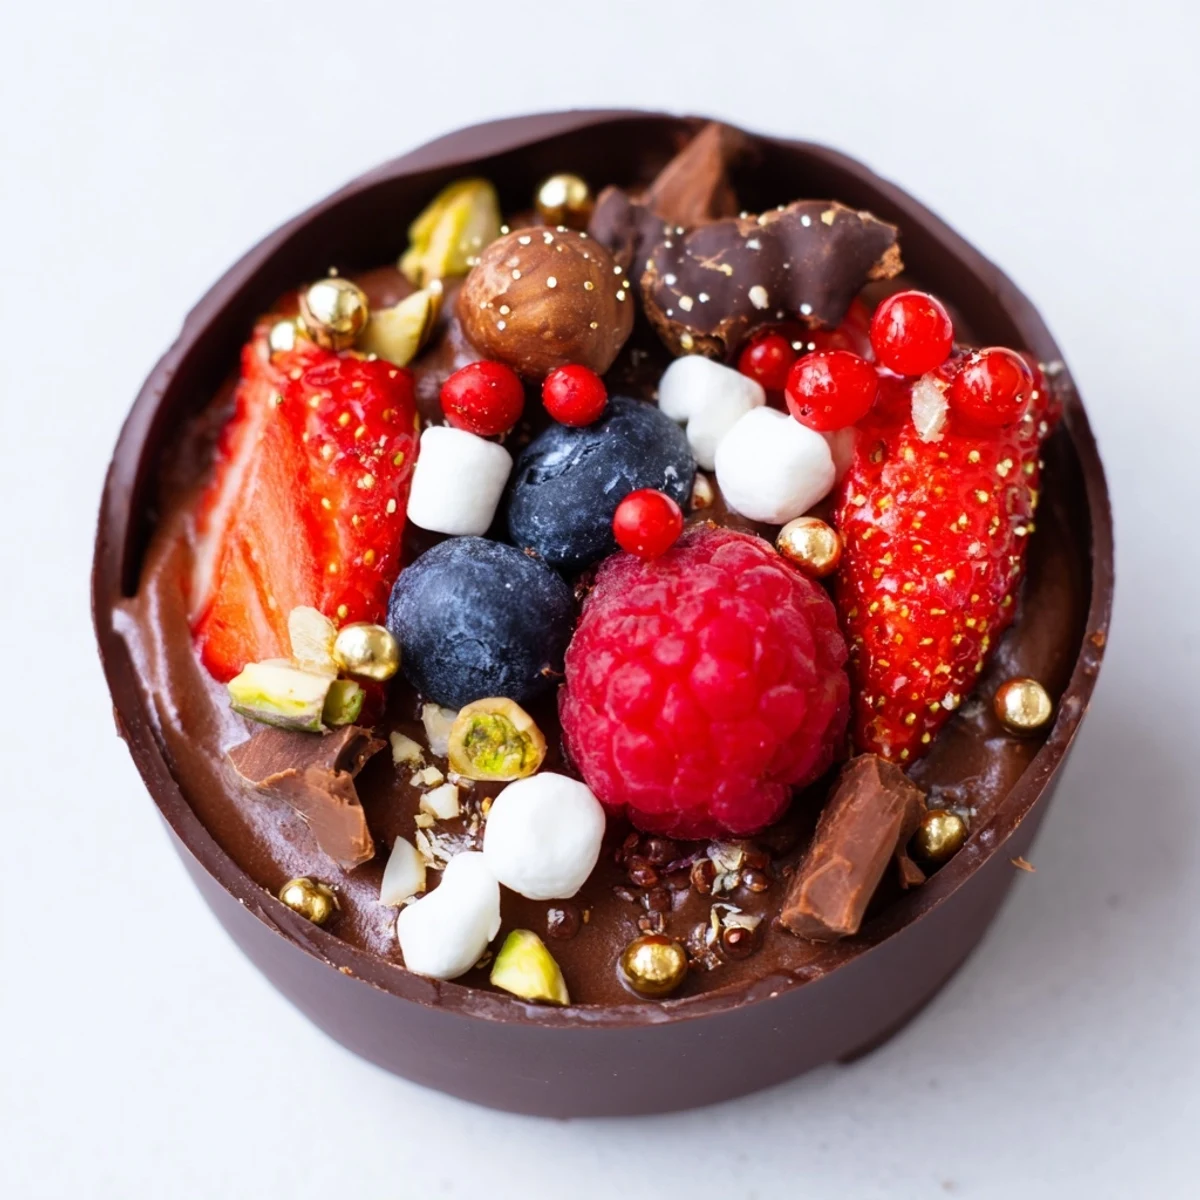
Save These elegant chocolate grazing cups feature handmade dark chocolate cups filled with silky chocolate mousse, topped with fresh mixed berries, chopped nuts, mini marshmallows, and chocolate curls. The combination of velvety smooth mousse and crisp chocolate shell creates a luxurious texture contrast, while the colorful toppings add visual appeal and varied crunch.
Perfect for dessert tables at special occasions, these individual portions offer a sophisticated presentation that guests can customize. The assembly process is straightforward—melt and mold chocolate cups, whip up a quick mousse, then artfully arrange toppings. For optimal texture, chill thoroughly before serving and enjoy within the same day for the crispest chocolate shells.
Last Valentine's Day, I decided to skip the restaurant reservations and create something special at home instead. These chocolate cups became the centerpiece, and watching friends' faces light up when they realized the edible cup was part of the treat was absolutely priceless. There's something magical about serving dessert in a vessel you can eat completely.
I made these for my sister's bridal shower and honestly, the chocolate cups were the star of the dessert table. My niece kept asking if they were really made of chocolate, and seeing her小心翼翼 take that first bite was such a joyful moment. The edible gold leaf I added on a few made them look absolutely stunning in photos.
Ingredients
- Dark chocolate (200 g for cups, 100 g for mousse): Using at least 60% cocoa gives you that sophisticated richness that balances the sweet cream
- Heavy cream (200 ml): The higher fat content creates that luxurious mousse texture that holds its shape beautifully
- Powdered sugar (2 tbsp): Dissolves instantly into the cream without any grainy texture
- Vanilla extract (1 tsp): Pure extract makes a noticeable difference in the depth of flavor
- Fresh mixed berries (1 cup): The tartness cuts through all that rich chocolate perfectly
- Chopped nuts (2 tbsp): Hazelnuts complement dark chocolate exceptionally well but any nut works beautifully
- Mini marshmallows (2 tbsp): They add playful texture and visual appeal
- Chocolate curls (2 tbsp): Use a vegetable peeler on a room temperature chocolate bar for perfect curls
- Edible gold leaf (1 tbsp, optional): Completely unnecessary but absolutely gorgeous for special occasions
Instructions
- Prepare the chocolate cups:
- Melt the 200 g dark chocolate gently, either in 30 second bursts in the microwave or over a barely simmering double boiler, stirring until completely smooth. Brush or spoon the melted chocolate into your cupcake liners, creating an even layer about 1/4 inch thick.
- Set the chocolate cups:
- Chill the coated liners in the refrigerator for at least 20 minutes until completely firm and set. Gently peel away the liners to reveal your perfect edible chocolate cups, handling them carefully as they can be delicate.
- Whip the cream:
- In a chilled bowl, whip the heavy cream with the powdered sugar and vanilla until soft peaks form. The cream should hold its shape but still look glossy and smooth, not stiff or grainy.
- Make the mousse base:
- Melt the remaining 100 g chocolate and let it cool slightly so it is not hot. Stir a spoonful of the whipped cream into the chocolate first to lighten it.
- Combine mousse:
- Fold the lightened chocolate mixture into the remaining whipped cream gently until fully combined and smooth. Be careful not to overmix or you will lose that airy texture.
- Assemble the cups:
- Fill each chocolate cup about two thirds full with the mousse using a piping bag or spoon. Arrange the toppings in beautiful clusters on top of each cup.
- Final chilling:
- Refrigerate the assembled cups for at least 20 minutes before serving so the mousse sets properly. This step also lets the chocolate cup firm up again after handling.
 Save
Save These became my go to dessert for dinner parties after the first time I served them and everyone immediately asked for the recipe. There is something so satisfying about watching people discover they can eat the whole thing, cup and all.
Making Chocolate Cups That Actually Work
The secret to cups that do not crack is patience during the chilling phase and ensuring your chocolate layer is thick enough. Rushing this step will leave you with broken cups and a lot of frustration. Silicone liners work better than paper ones because they release more easily.
Getting That Perfect Mousse Texture
Folding the melted chocolate into the whipped cream takes a gentle hand and some practice. The key is lightening the chocolate first with a small amount of cream before combining everything. This step prevents the chocolate from deflating all those air bubbles you worked so hard to create.
Topping Ideas To Make Them Yours
While the classic combination of berries and nuts is always stunning, do not be afraid to get creative with your toppings based on the season or occasion.
- Candied citrus peel adds a bright, sophisticated touch during winter months
- Crushed pretzels or potato chips create an irresistible salty sweet contrast
- Fresh mint leaves make the whole dessert feel lighter and more refreshing
 Save
Save These little cups of happiness have become my signature dessert, and I hope they bring as much joy to your table as they have to mine. Happy chocolate making.
Recipe FAQs
- → How far in advance can these be made?
-
For the freshest texture and crispest chocolate shells, prepare these on the day of serving. The cups can be made up to 24 hours ahead if stored in an airtight container in the refrigerator, though the chocolate may soften slightly over time.
- → Can I use different types of chocolate?
-
Absolutely. While dark chocolate provides a rich intensity, white or milk chocolate work beautifully for both cups and mousse. Consider mixing complementary flavors—white chocolate cups with dark chocolate mousse, or milk chocolate cups with a lighter mousse variation.
- → What other toppings work well?
-
Fresh seasonal fruits like sliced kiwi, mango, or pomegranate seeds add vibrant color. Crushed cookies, pretzel pieces, candied citrus peel, toasted coconut flakes, or even small pieces of brownie or cake create delicious texture variations and flavor combinations.
- → Do I need special equipment?
-
No specialized equipment is required. Silicone or paper cupcake liners work perfectly for molding the chocolate cups. A microwave or double boiler melts the chocolate gently. A hand mixer makes whipping the cream faster, though a whisk works well with patience.
- → How do I prevent the chocolate cups from cracking?
-
Ensure your chocolate is properly tempered—melted slowly and cooled to about 32°C (90°F) before coating. Apply a thick, even layer to the liners. Chill thoroughly until completely firm before attempting to remove the liners. Working in a cool, dry room also helps prevent issues.
- → Can these be made vegan?
-
Yes. Use dairy-free dark chocolate for both cups and mousse. Substitute the heavy cream with full-fat coconut cream or a plant-based whipping cream. Ensure all toppings like marshmallows and chocolate are certified vegan. The texture remains deliciously creamy.