 Save
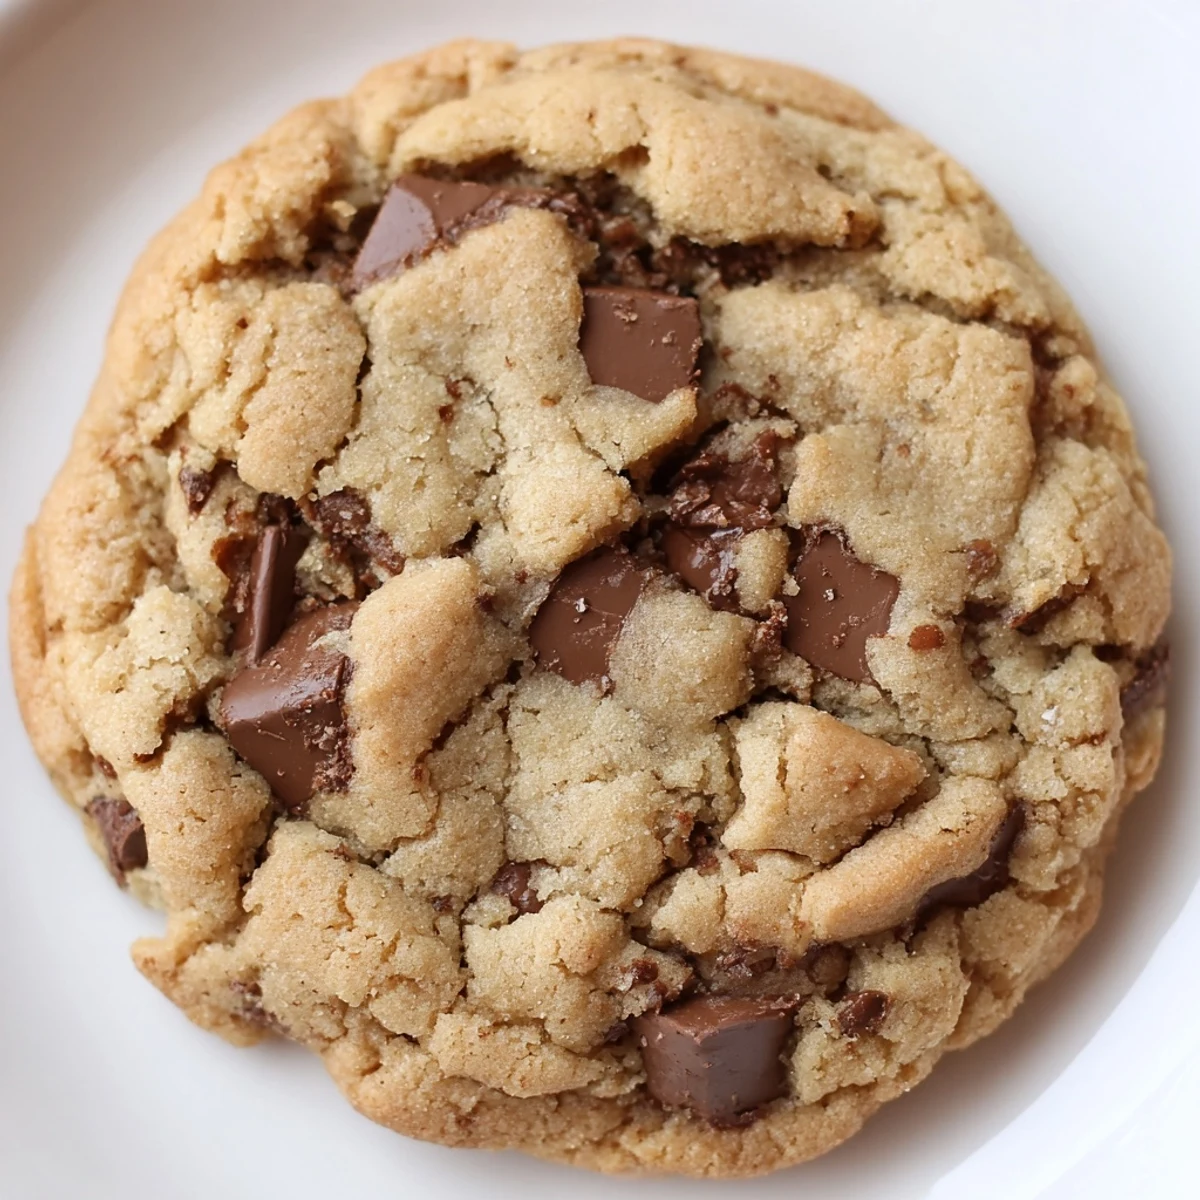
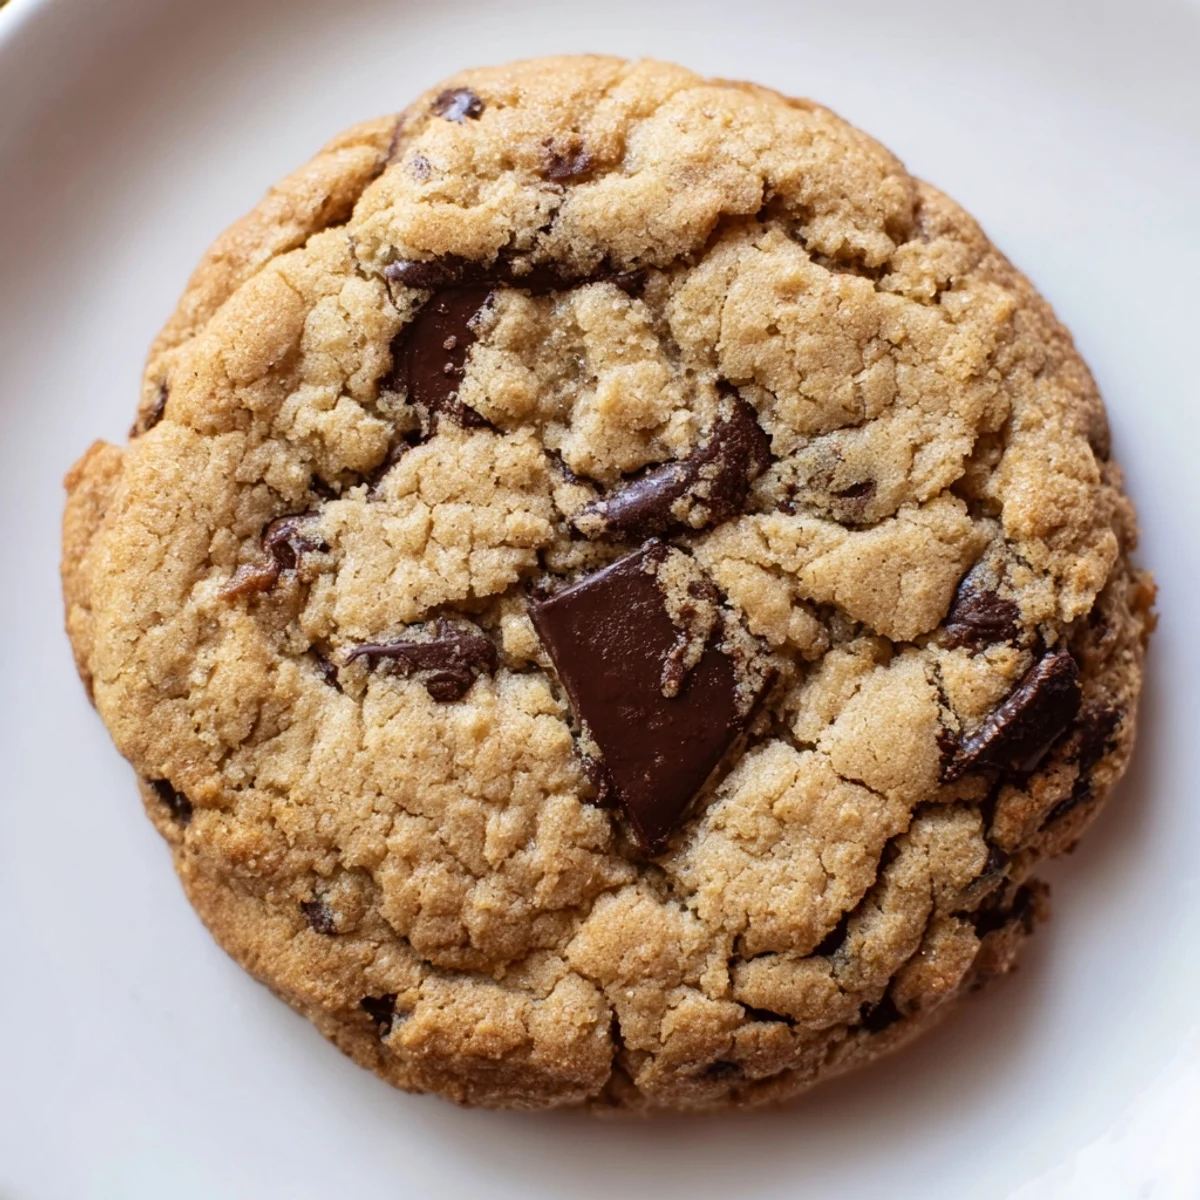
Save These soft and chewy chocolate chip cookies deliver all the classic flavor you love without any nuts. Made with simple pantry ingredients, they're perfect for school lunches, office treats, or anytime snacking when you need something allergy-friendly. The dough comes together quickly and bakes in just 10 minutes for golden edges and slightly soft centers. For extra chewiness, chill the dough for 30 minutes before baking.
My daughter came home from school last year with that look kids get when they've been left out of something — her class had a celebration and she couldn't eat any of the treats because of her nut allergy. That weekend, we turned the kitchen into a cookie laboratory, determined to create something that tasted just as good as the regular stuff but safe for her to share with friends.
We've made these for every school event since that first batch, and there's something incredibly satisfying about watching my daughter confidently offer cookies to her friends, knowing everyone can enjoy them together. The best part was when her teacher asked for the recipe, completely unaware they were anything special.
Ingredients
- All-purpose flour: This creates the classic cookie structure we all know — measuring correctly by spooning into your cup and leveling off makes a huge difference in texture
- Baking soda: The secret lift that gives you those slightly puffy centers while keeping edges crisp
- Salt: Just half a teaspoon wakes up all the flavors and balances the sweetness
- Unsalted butter: Softening it to room temperature is non-negotiable — cold butter creates weird cookies and melted butter makes them spread too thin
- Granulated sugar: Gives the cookies their crisp edges and that satisfying crunch when you bite into them
- Light brown sugar: Packed tight, this adds moisture and creates those chewy centers everyone fights over
- Large eggs: Room temperature eggs incorporate better — I learned this the hard way after a batch of cookies with weird white streaks
- Pure vanilla extract: Don't skimp here — the real stuff makes these taste bakery-quality instead of cafeteria-quality
- Nut-free semi-sweet chocolate chips: Always check the label, even on brands you trust — cross-contamination warnings matter for serious allergies
Instructions
- Preheat and prepare:
- Get your oven to 350°F (175°C) and line two baking sheets with parchment paper — trust me, the cleanup is worth the extra parchment
- Whisk the dry team:
- In a medium bowl, combine the flour, baking soda, and salt until they're one happy family
- Cream the butter and sugars:
- Beat the butter with both sugars for 2-3 minutes until it's pale and fluffy — this is what makes cookies taste professionally made instead of thrown together
- Add the wet ingredients:
- Drop in the eggs one at a time, letting each one disappear completely before adding the next, then pour in the vanilla
- Bring it all together:
- Pour in your dry ingredients gradually, mixing just until the flour streaks disappear — over-mixed cookies are tough cookies
- Fold in the chocolate:
- Switch to a spatula and gently fold in those chocolate chips until they're evenly distributed throughout the dough
- Scoop and space:
- Drop rounded tablespoons onto your prepared sheets, leaving about 2 inches between them — they spread more than you'd expect
- Bake to perfection:
- Slide them into the oven for 9-11 minutes, pulling them out when edges are golden but centers still look slightly underdone
- The patience part:
- Let them cool on the baking sheets for 5 minutes before moving them to a wire rack — they firm up during this crucial window
 Save
Save Last month, my daughter insisted on making these completely by herself for her birthday party. I hovered nearby, ready to jump in if she needed help, but she moved through the recipe with such confidence. When her friends asked what made these cookies so good, she just shrugged and said the secret ingredient was love, which honestly wasn't far from the truth.
Getting That Perfect Texture
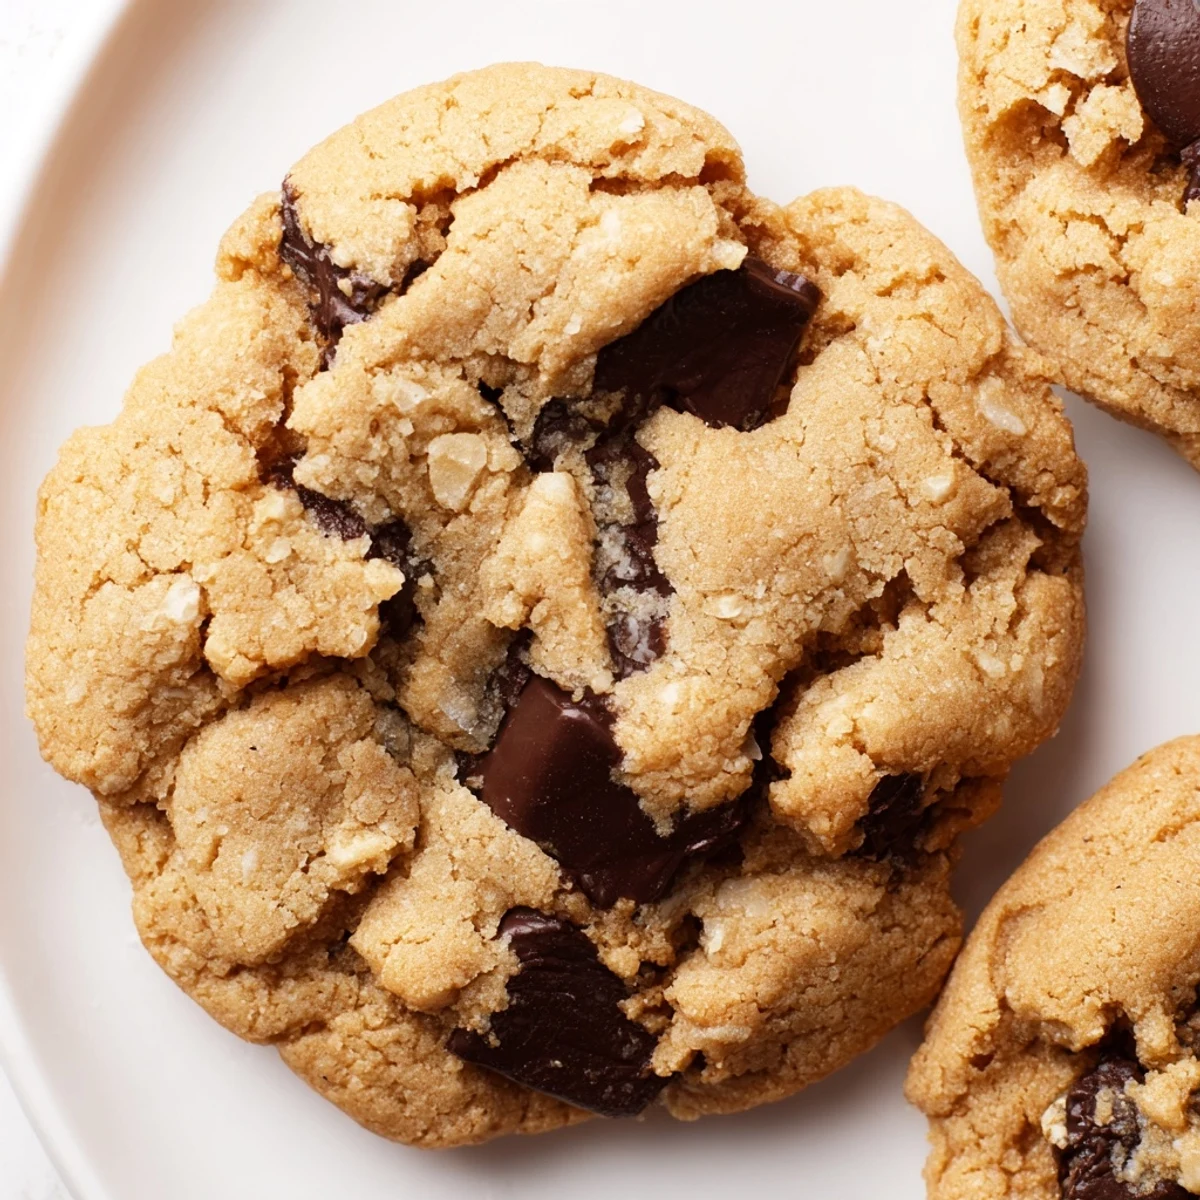
The magic window for pulling these cookies out is narrower than you'd think — I set my timer for 9 minutes and check them every minute after that. You want edges that are definitely golden but centers that still look soft and slightly underdone. They continue cooking on the hot baking sheet, and that residual heat is what creates that perfect gooey center we're all chasing. If you wait until the centers look set in the oven, you've already gone too far.
Making Them Your Own
While the classic chocolate chip version is pretty hard to beat, we've had fun with variations in our house. Sometimes we swap half the chocolate chips for nut-free white chocolate chunks, which creates these amazing pockets of creamy sweetness throughout. During summer, dried cranberries or chopped dried cherries add this tart contrast that cuts through the richness. Just keep the total add-ins to about 2 cups — anything more and the cookies lose their structure and turn into sad, flat cookies.
Storage and Sharing
These cookies stay remarkably soft stored in an airtight container at room temperature for up to five days, though they've never lasted that long in our house. For school events or bake sales, I wrap individual cookies in clear treat bags and tie them with baker's twine — they look professionally done and stay fresh longer. If you're freezing the dough, scoop it onto a baking sheet first, freeze until solid, then transfer the portions to a freezer bag. You can bake straight from frozen, just add 1-2 minutes to the baking time.
- Never store warm cookies in sealed containers or they'll create condensation and get soggy
- Revive slightly stale cookies with 10 seconds in the microwave — they taste freshly baked again
- Freeze baked cookies between layers of parchment paper for up to 3 months
 Save
Save There's something deeply satisfying about watching a child who's used to saying 'I can't eat that' confidently offer homemade treats to friends. These cookies aren't just nut-free — they're proof that allergy-friendly baking can be absolutely delicious on its own merits.
Recipe FAQs
- → Are these cookies completely nut-free?
-
Yes, these cookies contain no nuts or nut-derived ingredients. However, always check your ingredient labels to ensure chocolate chips and other packaged items are certified nut-free if serving someone with severe allergies.
- → How should I store these cookies?
-
Store in an airtight container at room temperature for up to 5 days. For longer storage, freeze the baked cookies for up to 3 months or freeze the dough balls to bake fresh later.
- → Can I make the dough ahead of time?
-
Absolutely. The dough can be refrigerated for up to 3 days before baking. Chilling for 30 minutes or longer also enhances the chewy texture and prevents spreading too much during baking.
- → What makes these cookies soft and chewy?
-
The combination of brown sugar, which adds moisture, plus slightly underbaking until centers look soft creates that perfect chewy texture. Chilling the dough before baking also enhances chewiness.
- → Can I substitute the chocolate chips?
-
Yes. Try nut-free white chocolate chips, dried cranberries, or chopped dried fruit for variety. Just ensure any substitutions are also certified nut-free if needed for allergies.