 Save
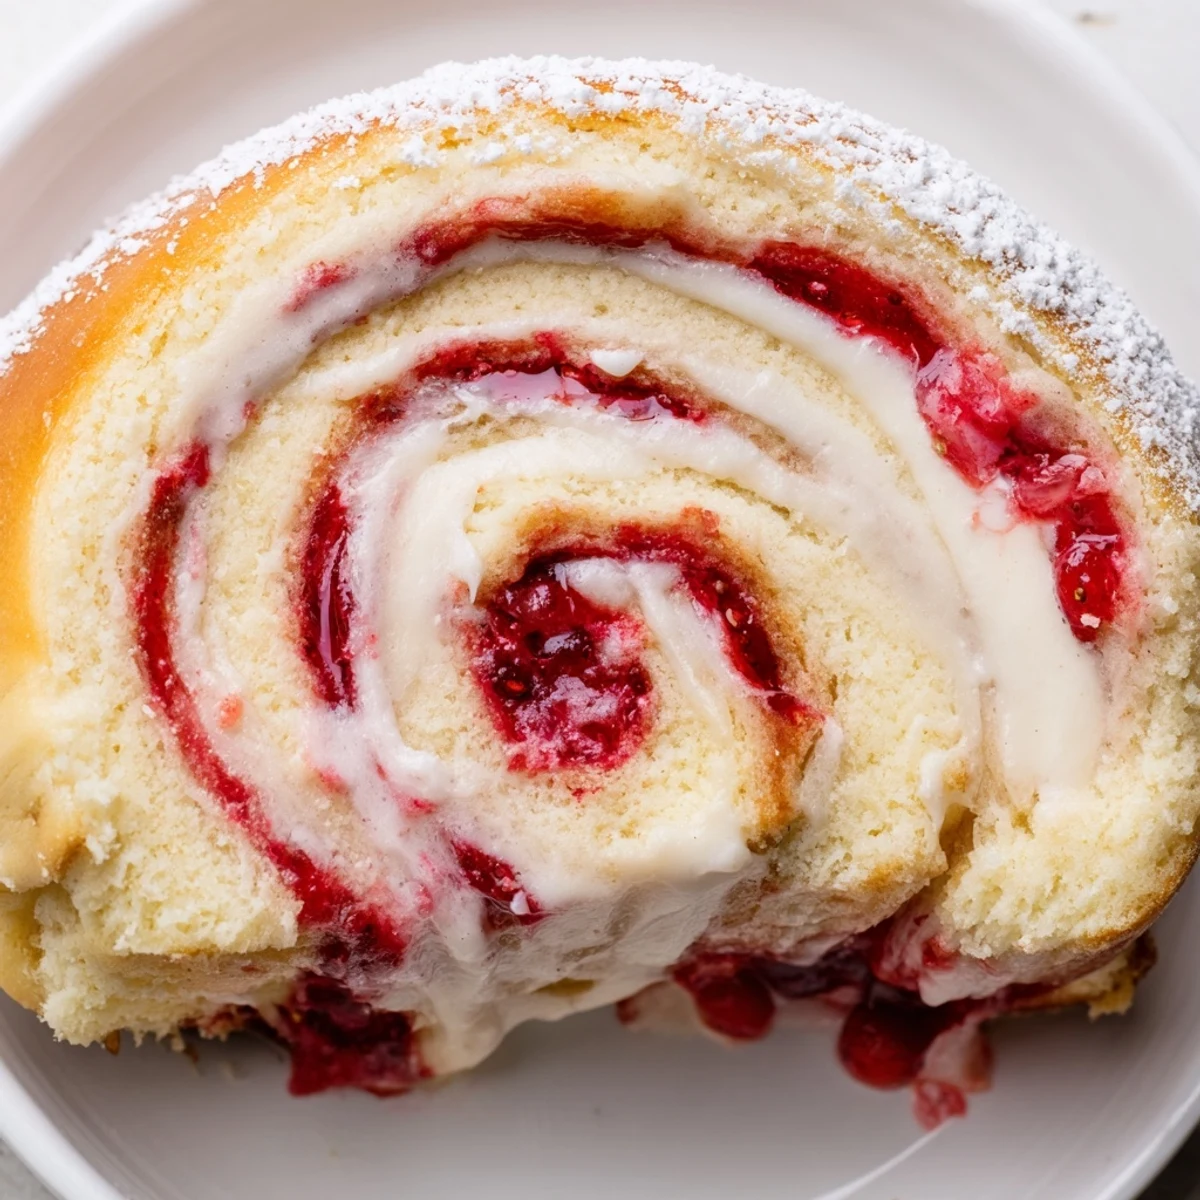
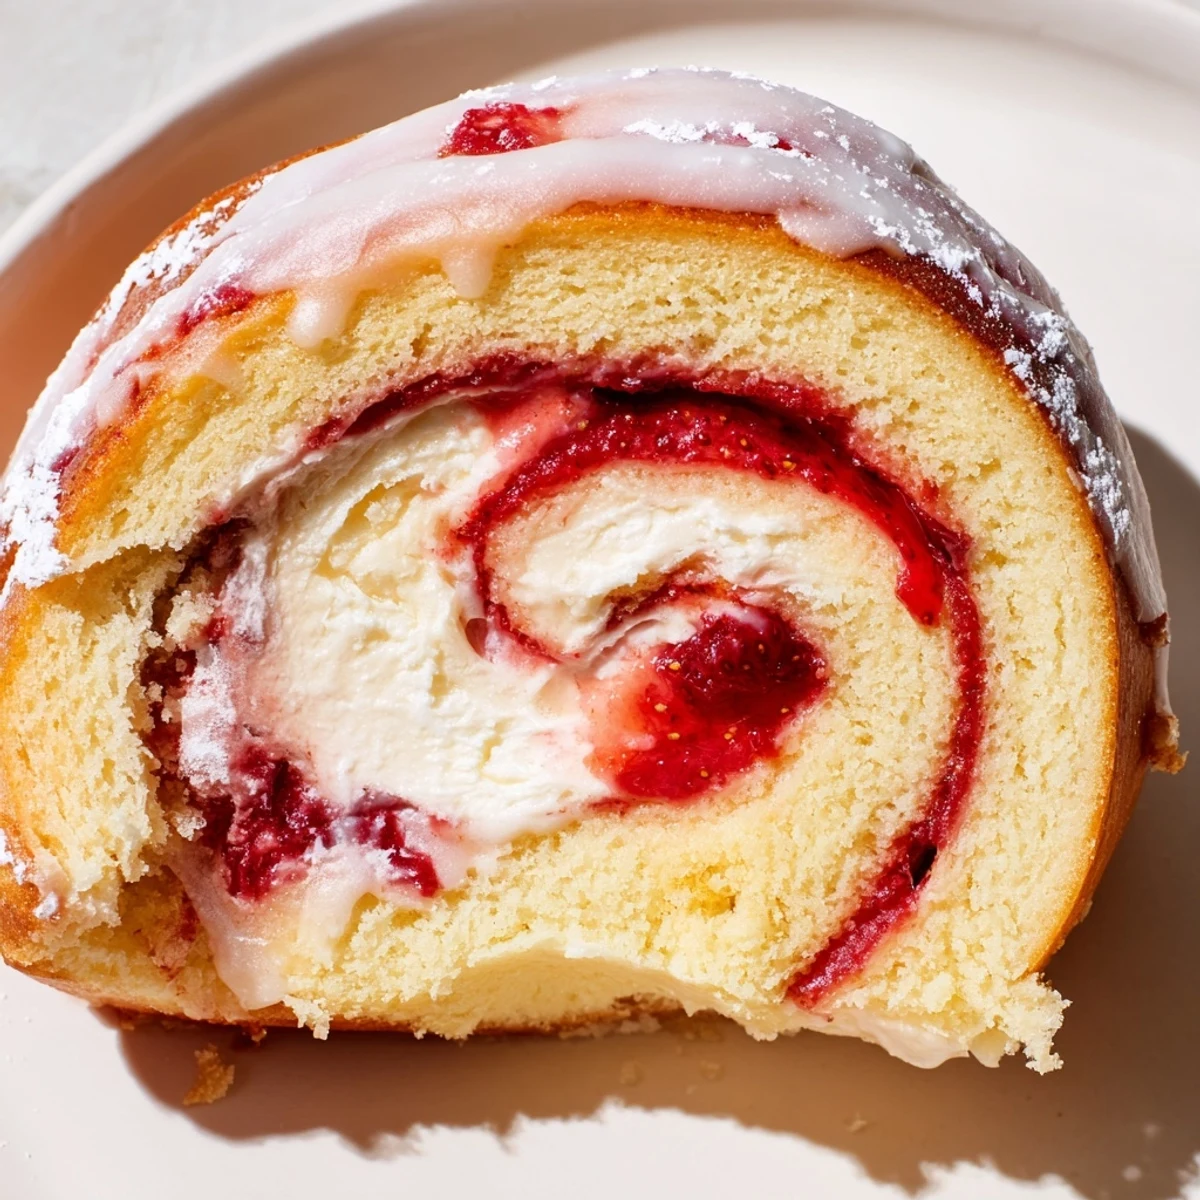
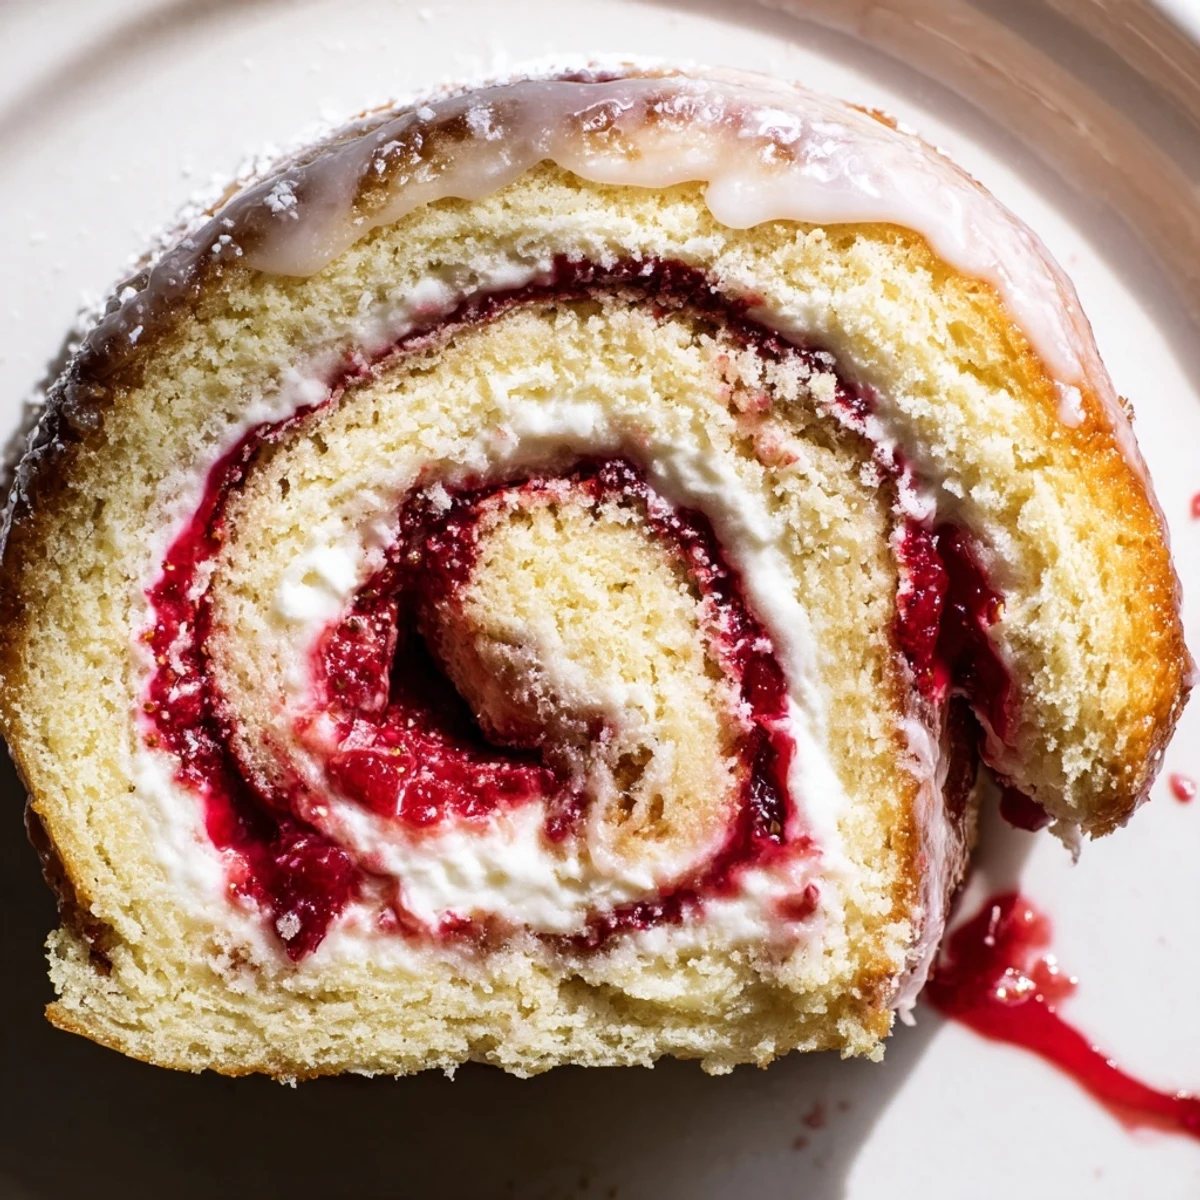
Save These soft, pillowy rolls combine the best of strawberry shortcake with rich cheesecake filling. The dough rises to perfection, creating tender layers that wrap around smooth cream cheese and sweet strawberry jam. After baking until golden, a simple vanilla glaze adds the finishing touch. The result is an indulgent twist on two classic desserts, perfect for brunch or special occasions.
The smell of warm yeast dough bubbling away on the counter still takes me back to my grandmother's tiny kitchen, where I'd pull a chair up to the counter just to watch the magic happen. I was probably eight years old the first time she let me help with cinnamon rolls, and I remember being absolutely mesmerized by how the dough would puff up like it was breathing. These strawberry shortcake cheesecake rolls are my grown-up spin on that memory. I swapped the cinnamon for sweet cheesecake filling and fresh strawberries, and the way they perfume the entire house while baking is something else entirely.
Last summer I made these for my roommate's birthday, and I honestly wish I had a photo of her face when she took that first bite. The steam was still rising from the pan, the glaze was dripping everywhere, and she just closed her eyes and made this sound that was half-laugh half-moan. Now every time strawberries come back into season, she starts dropping unsubtle hints about when the rolls are making their annual reappearance. I've learned to double the recipe.
Ingredients
- 3 1/2 cups all-purpose flour: This amount gives you the perfect structure for rolls that are substantial without being heavy or bread-like
- 1/4 cup granulated sugar: Feeds the yeast and adds just enough sweetness to the dough without making it taste like cake
- 2 1/4 tsp active dry yeast: One standard packet works perfectly here, and fresh yeast really does make a difference in how high the rolls rise
- 1/2 tsp salt: Don't skip this because it balances the sweetness and brings out all the flavors
- 1 cup warm milk: The warmth activates the yeast but be careful not to go above 110°F or you'll kill the yeast entirely
- 1/4 cup unsalted butter, melted: Adds richness and keeps the dough tender and soft even after baking
- 1 large egg: Provides structure and helps the dough hold its shape while rising
- 8 oz cream cheese, softened: MUST be truly soft to room temperature or you'll have lumps in your filling
- 1/4 cup granulated sugar: Sweetens the cheesecake filling just enough to complement but not overpower the strawberries
- 1 tsp vanilla extract: Use the good stuff here because it shines through in both the filling and glaze
- 1 1/2 cups diced fresh strawberries: Fresh strawberries give you the best flavor and texture, though frozen can work in a pinch
- 2 tbsp granulated sugar: Pulls moisture out of the strawberries and helps create that jammy consistency
- 2 tsp cornstarch: This is what transforms the strawberries from saucy to spreadable without making it too gelatinous
- 1 tbsp lemon juice: Brightens the strawberry flavor and balances all that rich cream cheese
- 1 cup powdered sugar: Creates the perfect drizzle consistency for that final touch of sweetness
- 2 tbsp milk: Adjust this to get your glaze to the right thickness for drizzling
- 1/2 tsp vanilla extract: A little extra vanilla in the glaze makes everything taste bakery-quality
Instructions
- Wake up the yeast:
- Whisk the warm milk, sugar, and yeast together in your largest bowl and walk away for exactly five minutes. You'll come back to find it foamy and alive, which is honestly one of the most satisfying things in baking.
- Build the dough base:
- Whisk in the melted butter, egg, and salt until everything's combined. Then gradually add the flour, mixing with a wooden spoon until it gets too thick to stir.
- Knead until smooth:
- Turn the dough onto a lightly floured surface and knead for eight full minutes. The dough will go from shaggy and sticky to smooth and elastic, bouncing back when you press it.
- Let it rise:
- Place the dough in a greased bowl, cover it with a warm towel, and find something else to do for an hour. The dough should double in size, and it's incredibly satisfying to poke it with your finger and watch it slowly fill back in.
- Cook the strawberries:
- Combine the strawberries, sugar, cornstarch, and lemon juice in a saucepan over medium heat. Stir constantly for six to eight minutes until it's thick and jammy, then let it cool completely because hot filling will melt your butter layer.
- Make the cheesecake filling:
- Beat the cream cheese, sugar, and vanilla until it's completely smooth with no lumps at all. This takes longer than you think it should, but silky smooth filling is worth the extra minute or two.
- Roll out the dough:
- Punch down the risen dough and roll it into a 16x12 inch rectangle on a floured surface. Try to keep the thickness even so your rolls bake uniformly.
- Layer it all on:
- Spread the cheesecake filling first, leaving a half-inch border around the edges. Then gently spread the cooled strawberry mixture on top, being careful not to tear the dough.
- Roll and slice:
- Roll the dough tightly from the longer side into a log, then use dental floss or a very sharp knife to cut it into twelve equal pieces. This part feels so satisfying when you get it right.
- Second rise:
- Arrange the rolls in a greased baking dish, cover them, and let them puff up for thirty minutes. They'll look cozy and crowded in the pan, which is exactly what you want.
- Bake until golden:
- Bake at 350°F for twenty-two to twenty-five minutes until they're lightly golden and cooked through. The aroma will fill your entire kitchen, which is really the whole point of making these.
- Add the glaze:
- Whisk the powdered sugar, milk, and vanilla until smooth, then drizzle it over the warm rolls. The glaze should melt slightly into all those lovely crevices and swirls.
 Save
Save My friend Sarah insists these rolls are the reason she finally understood why people bother with yeast baking after years of being intimidated by it. We made them together one rainy Sunday, and when they came out of the oven, she took one bite and literally stopped talking for a full minute. Now she makes them for every potluck and dinner party, and she always texts me a picture of the empty pan afterward. There's something about pulling apart that first warm roll with the glaze still dripping that just makes people happy.
Making Ahead
You can assemble these rolls the night before, cover the pan tightly, and refrigerate overnight. In the morning, let them sit at room temperature for about thirty minutes while the oven preheats, then bake as directed. The second rise happens slowly in the fridge, and they'll actually develop more flavor this way. Just don't add the glaze until after they've baked.
Fruit Variations
I've made these with peaches in the summer and apples with cinnamon in the fall, and each version feels like discovering the recipe all over again. The key is adjusting the sugar based on how sweet your fruit is. Tart berries might need an extra tablespoon of sugar, while perfectly ripe peaches might need less. Trust your taste buds and you'll end up with something perfectly balanced.
Serving Suggestions
These rolls are best served warm, ideally within an hour or two of baking when the texture is at its absolute peak. I like to put them out on a platter and let people pull them apart themselves. There's something communal and comforting about that ritual of breaking bread together, even when the bread is essentially dessert.
- Pair with a strong cup of coffee to cut through all that richness
- A scoop of vanilla ice cream alongside turns this into a full-on dessert experience
- Store leftovers in the fridge and reheat for 15 seconds in the microwave
 Save
Save There's nothing quite like pulling a pan of these from the oven and watching everyone's eyes light up. They're worth every minute of the process, and honestly, the way they make your house smell is half the reason to make them.
Recipe FAQs
- → Can I make these rolls ahead of time?
-
Yes, prepare the rolls through step 5, cover tightly, and refrigerate overnight. Let them come to room temperature for 30 minutes before baking. The glaze can be made ahead and stored in the refrigerator.
- → How do I know when the dough has risen enough?
-
The dough is ready when it has doubled in size. Press gently with your finger—if the indentation remains, it's properly risen. This usually takes about 1 hour in a warm, draft-free spot.
- → Can I use frozen strawberries instead of fresh?
-
Frozen strawberries work well for the filling. Thaw them completely and drain excess liquid before cooking. The cooking time may need to be extended slightly to achieve the right jammy consistency.
- → What's the best way to slice the rolls evenly?
-
Use unflavored dental floss or a sharp knife. Slide the floss under the log, cross ends over the top, and pull through cleanly. This technique compresses the dough less than cutting with a knife.
- → How should I store leftover rolls?
-
Keep in an airtight container at room temperature for up to 2 days. For longer storage, refrigerate for up to 5 days. Reheat gently in the microwave for 15-20 seconds to restore softness.
- → Can I substitute the cream cheese filling?
-
Mascarpone makes an excellent alternative with a slightly sweeter, lighter flavor. For a dairy-free version, use vegan cream cheese or cashew cream sweetened to taste.